How to Code on Mac: Setup Guide for AI-Assisted Dev
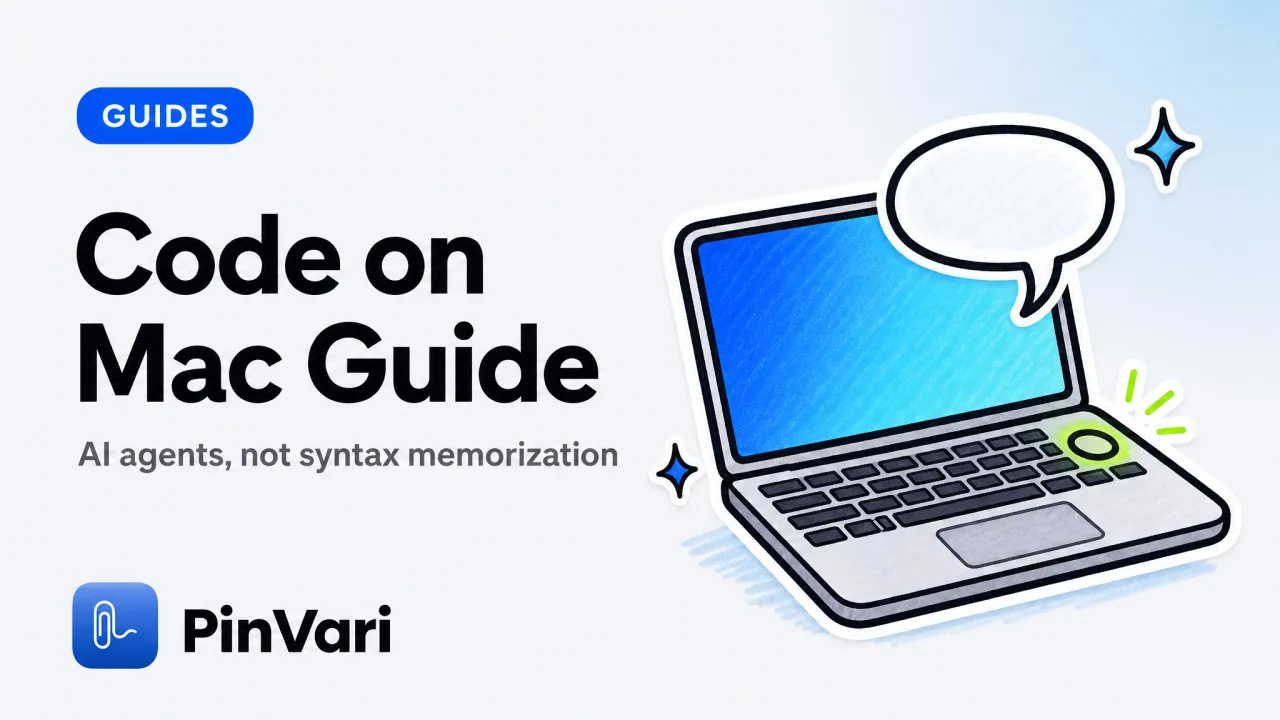
Coding on Mac in 2026 means picking an AI coding agent first, then pointing at what you want changed. You install Claude Code, Cursor, or Codex (all free to start), pair it with a point-and-speak capture tool, and describe problems by circling the broken element on screen while you talk. Most beginner guides still assume you'll memorize syntax and type every line—ignore them.
The standard path (Xcode tools → Homebrew → an editor → copy-pasting Stack Overflow) worked when humans wrote every character. AI agents write the code now. Your job is giving clear instructions and verifying the result. That shift rewrites the setup checklist.
What tools do I actually need to start coding on Mac?
You need three layers: the system-level compiler toolchain, an AI coding agent, and a way to describe UI bugs without typing paragraphs.
Layer 1: Xcode Command Line Tools (free, 10 minutes). Open Terminal (⌘Space → type "Terminal") and run xcode-select --install. Click Install when the popup appears. This gives you git, clang, and the compiler stack every Mac developer needs. Without it, Homebrew won't install and most build scripts fail.
Layer 2: Homebrew (free, 5 minutes). The Mac package manager. Paste /bin/bash -c "$(curl -fsSL https://raw.githubusercontent.com/Homebrew/install/HEAD/install.sh)" into Terminal and follow prompts. Afterward, you can install Python (brew install python), Node (brew install node), or any language runtime with one command instead of wrestling DMGs.
Layer 3: An AI coding agent (free tiers available, paid plans $20–40/month). Pick one:
| Agent | Best For | Price | How It Works |
|---|---|---|---|
| Claude Code | Beginners, natural instructions | Free (20 uses/day) then $20/mo | Runs in Terminal or VS Code extension; you describe the task, it edits files |
| Cursor | VS Code users who want inline AI | Free (50 requests/mo) then $20/mo | Fork of VS Code with ⌘K to prompt AI on selected code |
| Codex | CLI-first workflows, scripting | Free tier, then $40/mo | Terminal agent; handles multi-file refactors, can read/edit entire repos |
All three connect to AI coding agents via MCP (Model Context Protocol) to pull live context from your Mac. Start with Claude Code if you've never coded before—it accepts plain-English instructions like "add a dark mode toggle to the nav bar."
The 2026 shift: You no longer write code from scratch. You write instructions ("make the submit button blue when hovered") and the agent writes the code. Your bottleneck is describing what you want clearly and verifying it worked.
How do I point at broken UI elements instead of describing them in text?
This is where point-and-speak tools solve the beginner's biggest pain: you don't know the vocabulary to describe a CSS class name or a React component. You just know "this button is wrong."
Install PinVari (one-time $39, macOS 14+, Apple Silicon or Intel). Hold ⌥⌘A, circle the broken element, and say what's wrong while you draw. PinVari screenshots the area, transcribes your words on-device (nothing uploaded), and resolves the exact named accessibility element you circled—role, label, frame, parent chain. It sends the agent a pinvari_next_instruction payload with the element path, your spoken instruction, and a cropped screenshot.
Example: you're learning to code a recipe app. The "Add Recipe" button doesn't show on mobile. You hold ⌥⌘A, circle the button, say "this button disappears on iPhone screens." PinVari resolves it to AXButton "Add Recipe" frame:(890,120,140,44) and hands that to Claude Code. The agent sees the exact element, reads the CSS, and writes a media query to fix it. You never typed @media (max-width: 768px) or knew what "viewport breakpoint" meant.
Compare to typing: "The button in the top-right corner, I think it's called Add Recipe but I'm not sure, it's not showing on mobile, maybe it's a CSS issue?" The agent guesses. With PinVari, it knows.
Dwell mode: Hover over any UI element for ~0.2 seconds and PinVari auto-resolves it without circling. Useful for dense interfaces where freehand marks feel clumsy.
What's the actual step-by-step setup for a beginner in 2026?
Step 1: Install Xcode Command Line Tools. Open Terminal, run xcode-select --install, click Install. Wait for the download (2–4 GB, 10 minutes on fast Wi-Fi).
Step 2: Install Homebrew. Paste the installer command from brew.sh, hit Return, enter your password when prompted. Once installed, run brew --version to confirm.
Step 3: Install a language runtime. For web apps: brew install node. For Python scripts: brew install python. For Ruby/Rails: brew install ruby. Pick based on what you're building.
Step 4: Pick an AI coding agent. Download Claude Code from anthropic.com, Cursor from cursor.sh, or Codex from anthropic.com/codex. All three have free tiers. Sign up, grant file-access permissions when prompted.
Step 5: Install PinVari. Download the DMG from pinvari.com, drag to Applications, open, grant Accessibility and Screen Recording permissions in System Settings. Press ⌥⌘A to test—circle any UI element and speak. The capture appears in the notch island.
Step 6: Connect PinVari to your agent. Open PinVari → Preferences → Connect → click your agent (Claude Code, Cursor, Codex, or Zed). It installs the MCP connector to ~/.pinvari/mcp/pinvari-mcp and configures the agent's config file. Restart the agent. Now pinvari_next_instruction appears in the agent's tool list.
Step 7: Start a project. Create a folder (mkdir my-first-app), cd into it, and tell the agent: "Initialize a React app with Vite." It runs the commands, installs dependencies, and scaffolds the project. Open index.html in a browser.
Step 8: Make a change by pointing. Hold ⌥⌘A, circle the header text, say "make this font bigger and blue." The agent reads the PinVari capture (element <h1>, instruction "make this font bigger and blue", screenshot), edits App.css, and hot-reloads the page. You see the change instantly.
That's the loop: point → speak → agent codes → verify → repeat.
How do I know if the AI agent understood my instruction correctly?
Check the confidence score in the PinVari capture. When you circle an element, PinVari resolves it to a named accessibility element and assigns a confidence score (0.0–1.0). Scores above 0.8 mean the agent got the exact element. Below 0.8, PinVari flags it and asks you to confirm before sending.
Example: you circle a "Delete" button. PinVari resolves AXButton "Delete" confidence:0.92. High confidence—the agent will target that exact button. If you accidentally circled whitespace near the button, confidence might drop to 0.6. PinVari shows a warning: "Low confidence. Did you mean this element?" You redraw or confirm.
This prevents the agent from silently guessing. The accessibility tree macOS exposes (AXUIElementCopyElementAtPosition) gives PinVari the named element under every point. When the AX tree is empty (rare—canvas-based apps, some games), PinVari falls back to on-device Vision OCR and marks it as provenance:ocr instead of provenance:circled. The agent knows it's working from pixel text, not a named element.
If confidence is below 0.8 and you press through anyway, the agent might edit the wrong element. Always redraw if PinVari flags low confidence. Ten seconds to redraw beats an hour debugging why the wrong button changed color.
What's "vibe coding" and how does it fit into this workflow?
Vibe coding means describing what you want in natural language and letting the AI write the code. No syntax lookup, no Stack Overflow tabs, no memorizing API signatures. You say "add a dark mode toggle," the agent writes the React state logic and CSS variables. You verify it works. That's the vibe.
On Mac, how to vibe code starts with a point-and-speak tool. You circle elements, describe changes, and the agent codes. The spatial capture (where you pointed, what you said) gives the agent context a typed paragraph can't match. "Make this button bigger" with a screenshot of the exact button beats "make the submit button bigger" when there are three submit buttons on the page.
How to vibe code with Claude specifically: install Claude Code, connect PinVari via MCP, and use ⌥⌘A to mark elements. Claude reads the pinvari_next_instruction tool, sees the element path + your words + the screenshot, and edits the file. You reload the browser. Loop until it's right.
Vibe coding apps for Mac add layers on top: live-preview tools like Vite (hot-reloads on save), design-to-code bridges (Figma → code), voice-to-code shortcuts (PinVari's ⌥⌘V for voice-only mode when your hands are full). The core loop stays the same: describe intent, agent codes, verify.
The shift from 2020-era "learn syntax first" to 2026 "learn to describe clearly" is complete. Beginners who start with vibe coding today ship faster than juniors who spent six months on freeCodeCamp memorizing JavaScript methods.
How do I organize captures and tasks when working on a real project?
PinVari saves every capture to the Command Center (⌥⌘C to open). Captures group by app—all Safari marks in one section, all VS Code marks in another. Each capture shows the timestamp, the instruction you spoke, the resolved element, and the screenshot.
Mark a capture as done with ⌥⌘D or tell the agent to call pinvari_mark_done. Done captures collapse but stay searchable (Command Center has a search bar). If you're working on a feature and accumulate ten captures, you can batch-mark them done when the feature ships.
For multi-person teams, export a capture to Linear, GitHub Issues, or Slack. Click a capture in the Command Center → Share → pick the destination. It posts the screenshot, the element path, and your words as a formatted issue. The recipient sees exactly what you saw, no "it's broken on my screen but I can't explain where" ambiguity.
The notch island (the Dynamic-Island-style HUD that appears when you capture) shows live progress when the agent is working. If Claude Code is editing files, the island displays "Agent working…" with a spinner. When done, it shows "✓ Complete" and auto-collapses after three seconds.
Scroll-aware marks: If you capture an element, scroll the page, then capture another, both marks remember their frames relative to the scroll position. PinVari recalculates on-screen positions when you scroll back. Useful for long pages.
What are the common mistakes beginners make when coding with AI agents on Mac?
Mistake 1: Not granting Accessibility permissions. PinVari needs Accessibility access to resolve named elements via the macOS AX API. Without it, you get pixel screenshots but no element paths—the agent can't target "the blue button" programmatically. Fix: System Settings → Privacy & Security → Accessibility → toggle PinVari on.
Mistake 2: Describing elements with vague words. "Fix the button" when there are six buttons on screen. The agent guesses wrong. Fix: circle the exact button with ⌥⌘A. The spatial capture disambiguates.
Mistake 3: Ignoring low confidence warnings. You circle near an element, confidence is 0.5, you click through anyway. The agent edits the wrong div. Fix: redraw the mark. High-confidence captures (≥0.8) rarely fail.
Mistake 4: Not reading the agent's proposed changes. The agent writes code, you reload, it breaks. You didn't check the diff before accepting. Fix: use Claude Code best practices—always review the file changes in the terminal or editor before running.
Mistake 5: Treating the agent like a search engine. You ask "how do I add a database to my app?" The agent writes a guide, not code. Fix: rephrase as an executable instruction: "Add SQLite to this project and create a users table with id, name, email."
Mistake 6: Forgetting to restart the agent after installing PinVari's MCP connector. The connector lives at ~/.pinvari/mcp/pinvari-mcp and plugs into the agent's config (~/.config/claude-code/config.json for Claude Code). If you install PinVari mid-session, the agent won't see pinvari_next_instruction until you restart it.
Can I use this workflow for non-web projects—iOS apps, scripts, data analysis?
Yes, but the stack shifts slightly. AI agent workflows on Mac support any language. For iOS apps, you need Xcode (free from the App Store), not just the Command Line Tools. The agent can't write SwiftUI code and compile it without the full Xcode install. Point-and-speak still works—circle a button in the iOS Simulator, say "change the corner radius to 12," PinVari resolves the AXButton in the sim, the agent edits the SwiftUI view.
For Python scripts or data analysis (Jupyter notebooks, pandas), install Python via Homebrew (brew install python), set up a virtual environment (python3 -m venv venv), and point the agent at .py files or .ipynb notebooks. Circle a matplotlib chart in a notebook output, say "make the bars green," the agent edits the plot code.
For shell scripts or automation, Codex CLI is the fastest path. It lives in Terminal, reads your shell history and environment variables, and writes scripts on the fly. "Write a script that backs up my Documents folder to an external drive every night" → it writes the rsync cron job.
The common thread: the agent writes the code, you describe the intent. The Mac gives you the tools (Xcode, Homebrew, Terminal) and PinVari gives you the spatial capture layer so you don't have to type "the third parameter in line 47" when you can just circle it.
FAQ
What's the fastest way to start coding on Mac if I've never written code before?
Install Claude Code (free tier, 20 uses/day), open Terminal, and tell it: "Create a simple website with a header and a button." It scaffolds the HTML file and opens it in your browser. From there, circle elements with PinVari (⌥⌘A) and describe changes. You'll ship a working page in under an hour without touching a syntax guide.
Do I need to pay for an AI coding agent to learn?
No. Claude Code, Cursor, and Codex all have free tiers (20–50 requests/day). That's enough for beginners. Once you hit the limit, either wait until tomorrow or upgrade to the $20/month paid plan. PinVari is a one-time $39 purchase, no subscription for the core app.
Can I use PinVari with VS Code or do I need a specific editor?
PinVari works with any editor. It captures on-screen elements and sends them to the agent via MCP—it doesn't care if you're using VS Code, Cursor, Zed, or a text editor. Connect PinVari to Cursor or Claude Code in VS Code with one click (PinVari → Preferences → Connect).
How do I know if an element is too small or off-screen for PinVari to resolve?
If the element is visible on any monitor, PinVari can resolve it—even across multiple displays. Each mark remembers which screen it was drawn on. If the element is scrolled out of view, scroll to it first, then capture. PinVari reads up to 40,000 characters of text including scrolled content, so it sees the full window context even if part of it is off-screen.
What happens if I circle an element in a canvas-based app where the accessibility tree is empty?
PinVari falls back to on-device Vision OCR (Apple's framework, nothing uploaded). It reads the text at the point you circled, marks the capture as provenance:ocr instead of provenance:circled, and the agent knows it's working from pixel text, not a named element. Confidence scores drop slightly because there's no AX role to verify.
Is there a way to practice vibe coding without building a real project?
Yes. Pick a tutorial project (a to-do list, a weather app, a recipe site) and rebuild it with an AI agent instead of typing the code yourself. Follow the tutorial's screenshots, circle elements, and describe what each screen should do. The agent writes the code. You verify each step matches the tutorial. This builds the muscle of giving clear instructions and verifying output—the core vibe coding skills.
Hand your agent the exact element
PinVari resolves what you point at into a named, executable instruction — on-device, no keys, your own agent. One click inside PinVari connects Claude Code, Cursor, VS Code or Codex — or paste one CLI line from pinvari.com/connect.
PinVari → Connect → your agent (one click)Get PinVari — $39 →