Claude Code Tutorial: Build Your First AI Project
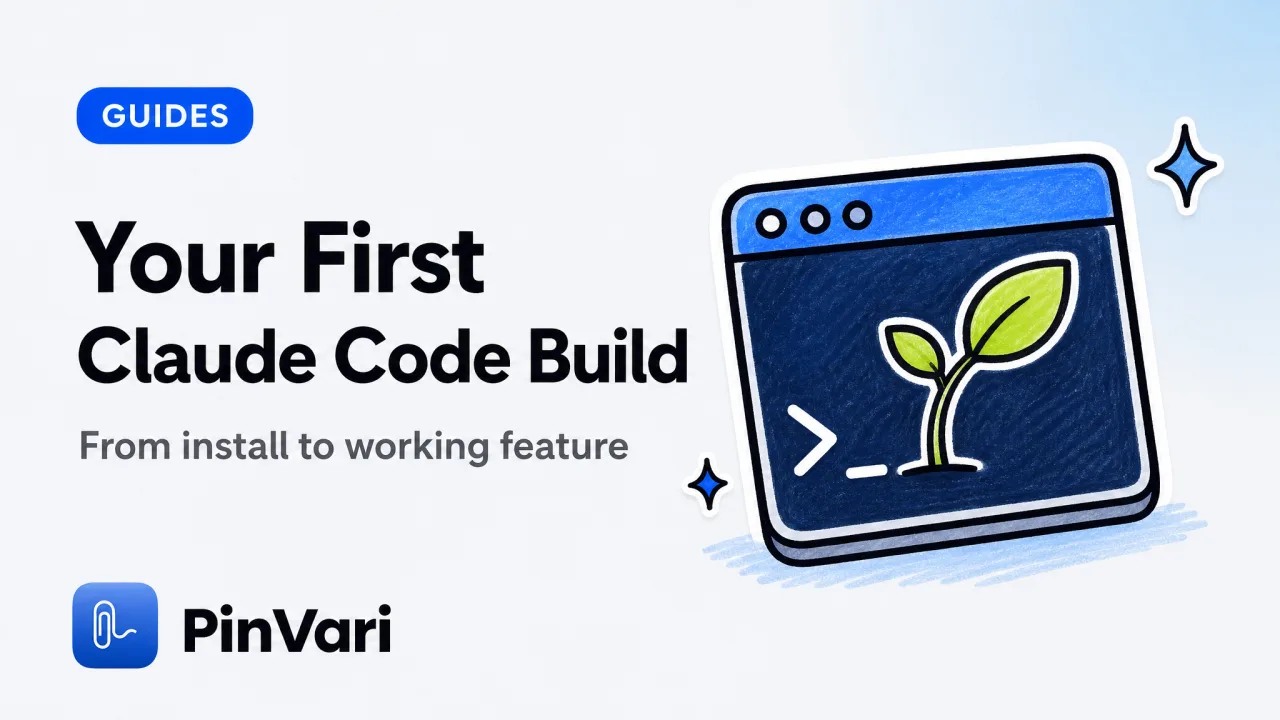
This claude code tutorial takes you from installing the tool to shipping one small working feature, using plain language instead of jargon. You install Claude Code, open a project folder, describe a single goal in a sentence, and let the agent read files, make edits, and run tests while you review each change.
Most tutorials front-load theory about agents and context windows. The fastest way to learn is to run one tiny task end to end and watch what happens.
I have walked several first-timers through this, and the ones who succeed start small and read every diff. Here is the checklist you can copy, plus the mistakes worth skipping.
What is Claude Code and what do you need to start?
Claude Code is an AI coding agent that runs in your terminal. You type instructions in plain English, and it reads your files, writes and edits code, runs commands, and reports back, all inside a folder you choose.
To follow this claude code tutorial you need three things: a computer with a terminal, an account with access to Claude Code, and a project folder to work in.
That folder can be an empty directory if you are starting fresh or an existing app if you want to add to something real.
You do not need to know much syntax yet. The whole point of an agent is that you describe the outcome and read the result, which is why it suits people still learning.
If you are weighing tools before you commit, the best coding software for beginners compares the gentle on-ramps.
Start in a folder you can throw away, or one under version control, so a wrong turn costs you nothing. Never run your first experiments in a project you cannot afford to break.
How do you set up Claude Code step by step?
Here is the copy-paste checklist. Run these in order and stop at any step that errors rather than pushing ahead.
1. Install Claude Code and sign in
Gives the agent access to the model.
2. Open your terminal in a project folder
Sets the working directory it can edit.
3. Start Claude Code in that folder
The agent now sees only these files.
4. Type one small goal in plain English
Small scope means readable diffs.
5. Read the proposed changes
You stay in control of every edit.
6. Let it run the tests
Catches breakage before you accept.
7. Accept, then commit to git
Locks in a known-good checkpoint.
The first goal should be genuinely tiny. Something like "add a button that shows an alert when clicked" or "write a function that reverses a string and a test for it."
You are learning the loop, not building the product yet.
Read the diff before you accept it, even if you do not understand every line. Reading changes is how you learn the vocabulary you do not have yet, because you see the words the agent uses for the things you only knew by sight.
For the full install walkthrough and first-session commands, how to use Claude Code covers each in order.
When you write that first instruction, be specific about the outcome and vague about the method. "Add a reset button below the form that clears every field" gives the agent a clear target without you having to know how it will be built.
Avoid stacking three goals into one sentence. A single change is easy to read and easy to undo, while a bundle of changes hides which part broke.
Expect the agent to ask questions or make an assumption when your instruction is ambiguous. That is normal and useful.
Answer plainly. If it guessed wrong, say so in your next message rather than trying to fix the code yourself before you understand it.
Commit to git after every working step. If the next instruction breaks something, you can reset to the last good commit in one command instead of trying to undo the agent by hand.
How do you give Claude Code more context with MCP?
Once the basic loop feels comfortable, MCP is the next thing worth learning. The Model Context Protocol lets Claude Code connect to outside tools and data, like your database, a browser, an issue tracker, or a local server that reads your screen.
You add one with a single command, claude mcp add --scope user …, and from then on the agent can call that tool during a task. Claude Code's MCP support walks through adding servers and what each type gives you.
For a beginner, the useful mental model is that MCP servers are extra senses and hands for the agent. Without them, Claude Code only sees your files.
With the right server, it can also read a live page, query data, or learn which UI element you are pointing at.
You do not need any of this on day one, so resist the urge to install a dozen servers before you have run a single task. Add one only when you hit a wall that it clearly solves.
Learning the plain instruct-review-accept loop first makes every server you add later easier to understand.
That last one matters more than it sounds, and it leads straight into the hardest part of learning with an agent.
Why is pointing better than describing when you are still learning?
The real wall for a new coder is not the terminal. It is that you often cannot name what is broken.
You see the button in the wrong place or the text that will not center, but you lack the words for "flex container" or "padding" or "the parent div."
So you take a screenshot, paste it in, and type "fix this thing here." Claude Code then has to guess which coded element you mean from an image.
A screenshot is only pixels, so the guess misses when things look alike. You end up in a frustrating loop where neither of you can name the target.
macOS already knows what sits under your cursor through its Accessibility API, which exposes the role, label, and frame of the control you are pointing at. Software can read that even when you cannot describe it.
Pointing carries the exact element; describing carries your best guess at its name.
Do not assume a bigger or clearer screenshot will help the agent find the right element. It will not, because pixels have no label. What the agent needs is the element's name, which is exactly what a beginner cannot supply yet.
This is where a point-and-speak layer helps a new coder most. PinVari lets you hold ⌥⌘A, circle or point at the control on screen, and just say what you want in your own words.
It resolves the named accessibility element you pointed at, with a confidence score, and hands it to Claude Code over a local MCP server on 127.0.0.1. The agent gets the real target instead of a picture.
It runs on-device with no API keys and nothing uploaded by default. If the confidence is low it asks rather than guessing silently.
Voice-only is ⌥⌘V. Pause and resume across a scrolling page is ⌥⌘P.
The voice side works like push-to-talk for Claude Code on Mac, so you speak instead of typing long descriptions you do not have the words for yet.
It is a one-time app at $39 for the launch price, which makes it a low-commitment addition while you are still learning to name things.
FAQ
Do I need to know how to code before using Claude Code?
No, you can start with very little syntax, because you describe outcomes in plain English and read the results. That said, reading the diffs teaches you the vocabulary fast, so you will pick up real coding knowledge as you go.
Start with tiny tasks and grow from there.
What is the first thing I should build in Claude Code?
Build something tiny and self-contained, like a function with a test or a single button that does one thing. The goal of your first claude code tutorial run is to learn the instruct-review-accept loop, not to ship a product.
Small scope keeps the diffs readable while you learn.
How do I stop Claude Code from breaking my project?
Work in small steps, read every diff before accepting, and commit to git after each working change. If a step breaks something, reset to the last good commit rather than trying to undo the agent manually.
Keeping your project under version control is the single best safety net.
What is MCP in Claude Code?
MCP, the Model Context Protocol, lets Claude Code connect to external tools and data through a standard interface. You add a server with claude mcp add --scope user …, and the agent can then call it during a task.
Common uses include databases, browsers, issue trackers, and screen-context servers.
How do I tell Claude Code about a visual bug I cannot describe?
Point at it instead of describing it. A point-and-speak tool reads the accessibility element under your cursor and passes its name to Claude Code, so you do not need the technical word for what is wrong.
That removes the biggest blocker for beginners fixing UI issues.
Is Claude Code good for learning to code?
Yes, if you read the changes it makes rather than blindly accepting them. Watching the agent name and edit things you only recognized by sight builds real vocabulary and pattern knowledge.
Treat each session as a chance to learn the words behind the code.
Hand your agent the exact element
PinVari resolves what you point at into a named, executable instruction — on-device, no keys, your own agent. One click inside PinVari connects Claude Code, Cursor, VS Code or Codex — or paste one CLI line from pinvari.com/connect.
PinVari → Connect → your agent (one click)Get PinVari — $39 →