Best Coding Software for Beginners in 2026
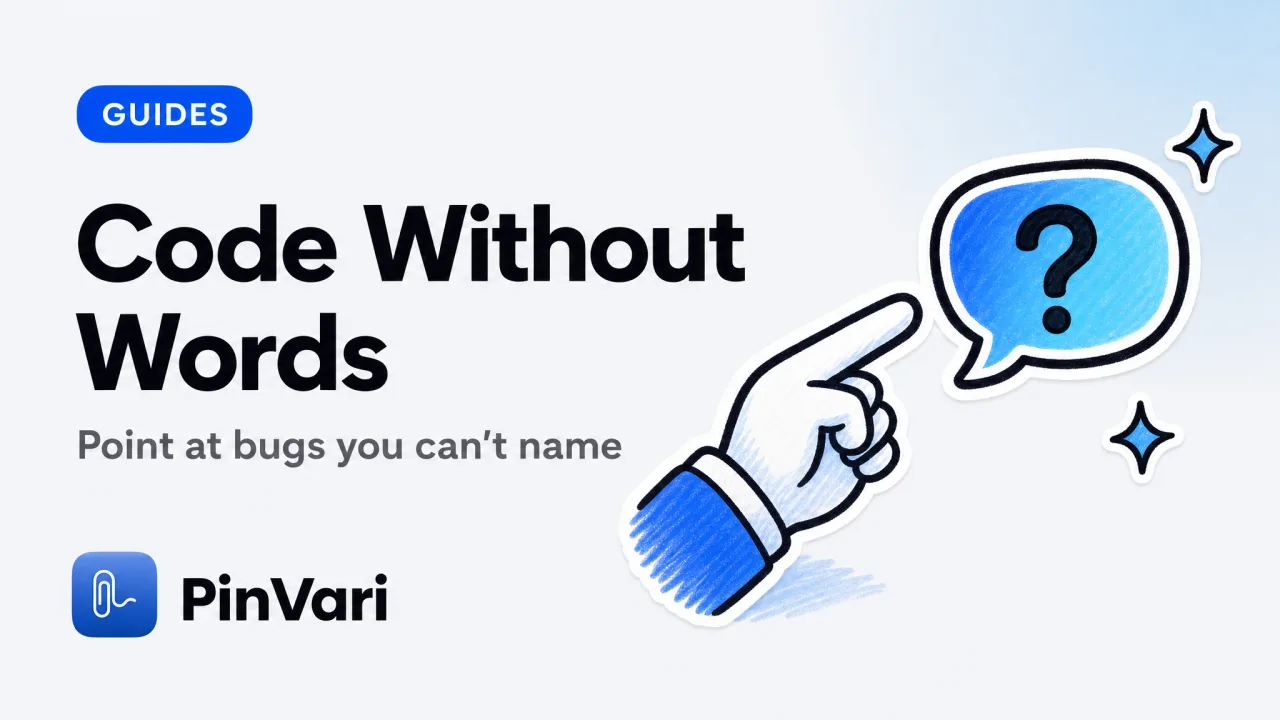
The best coding software for beginners in 2026 is an AI coding assistant (Claude Code, Cursor, or Zed) plus a point-and-speak tool that resolves the exact UI element you are looking at. Most beginners waste hours typing descriptions of bugs they do not have the vocabulary to name.
A tool that lets you circle the broken button and speak what is wrong skips that bottleneck. The standard advice ("just use VS Code and learn the terminal") ignores that AI has inverted the learning curve: now you describe intent and the agent writes code, but only if you can show it exactly what you mean.
What makes coding software good for beginners?
A coding environment for beginners in 2026 needs three things: an AI assistant that writes and fixes code, an editor that explains what it is doing, and a way to show bugs without needing technical vocabulary. The AI assistant is the primary teacher — you describe what you want in plain language and it generates working code.
The editor provides syntax highlighting, error squiggles, and inline diffs so you see changes before accepting them. The third piece, showing bugs, is where most setups fail.
When you are learning, you encounter broken UI constantly but lack the words to describe it. "The thing in the corner doesn't work" could mean a disabled button, a CSS overflow, a missing event handler, or a race condition.
Typing that into an AI chat wastes tokens and often returns a fix for the wrong element because the agent guessed. Point-and-speak tools solve this by resolving the named accessibility element — the button's role, label, frame, and parent chain — so the agent knows exactly which control you mean.
Traditional tutorials assume you will learn by reading docs and typing examples. AI coding flips that: you learn by describing outcomes and reviewing generated code.
The bottleneck shifts from "I don't know the syntax" to "I can't explain what's wrong in a way the AI understands." A tool that resolves the on-screen element and hands it to your agent removes that bottleneck.
Beginners make better progress when they can point at what's broken and speak naturally than when they try to describe UI bugs in technical terms they haven't learned yet. The AI agent needs the element name and frame; point-and-speak capture delivers both.
Which AI coding assistants work best for learning?
The three AI coding tools that matter in 2026 are Claude Code, Cursor, and Zed. All three let you describe what you want in natural language and generate or fix code.
Claude Code is a terminal agent that reads your repo, edits files, and explains its changes. Cursor and Zed are full editors with the agent embedded.
For beginners, Cursor's inline flow or Claude Code paired with a lightweight editor are the easiest starts.
Claude Code
- Interface: Terminal agent, works with any editor
- MCP support: Yes
- Best for: Beginners who want explanations alongside code
Cursor
- Interface: Inline diffs in a VS Code-style editor
- MCP support: Yes
- Best for: Learners who prefer context-aware inline fixes
Zed
- Interface: Native editor plus Assistant panel
- MCP support: Yes
- Best for: A fast, lightweight setup
Claude Code is a CLI that writes code and explains its changes in a chat-style session. It uses the Model Context Protocol (MCP) to connect to tools and your filesystem.
When paired with a point-and-speak tool like PinVari, Claude Code receives the exact UI element you circled. AI agents know which UI element you mean when they have the accessibility tree, not just a screenshot.
Claude Code does not see your screen by default. Can Claude Code see my screen? walks through what it actually reads.
Cursor is VS Code rebuilt around an inline AI assistant. You highlight broken code, press ⌘K, and describe the fix; Cursor writes the change as an inline diff you accept or reject.
For beginners, this inline flow feels more concrete than a separate chat window. Cursor also supports MCP, so it can receive point-and-speak captures the same way Claude Code does.
Zed is a native Mac editor with an Assistant panel that writes code via a connected model. It is faster than Electron editors and uses less memory.
Zed's Assistant uses the same MCP protocol, so it integrates with point-and-speak tools identically.
All three tools connect to point-and-speak capture via MCP servers. The agent receives the resolved UI element (role, label, frame) instead of a raw screenshot, so it knows exactly which element to fix. MCP servers for AI agent screen context run locally on 127.0.0.1 and never upload your data.
What is an MCP server and why does it matter?
An MCP server is a local program that runs on your Mac (127.0.0.1) and feeds structured data to your AI coding agent. Instead of copy-pasting screenshots or typing descriptions into a chat, the server hands the agent resolved context: the file you are editing, the UI element you circled, the terminal output.
Claude Code, Cursor, and Zed all connect to MCP servers. You install one with claude mcp add --scope user pinvari -- "$HOME/.pinvari/mcp/pinvari-mcp" and the agent gains a new tool.
For beginners, MCP matters because it turns "I can't describe this bug" into "I'll point at it and the agent will know what I mean." A point-and-speak MCP server like PinVari resolves the accessibility element under your pointer and passes that to the agent as a structured instruction.
The agent receives a named target instead of a full-screen PNG and a vague chat message.
The on-device detail is critical for learners: MCP servers run locally and do not upload your code or screenshots to third-party APIs. The transcription, OCR, and element resolution all happen on your Mac.
The only thing sent to an LLM is what the agent needs to generate the fix, through the account you already use.
How do you show bugs you can't describe?
Beginners encounter bugs they lack the vocabulary to name: a button that doesn't respond, text that overflows its container, a dropdown that closes immediately. Typing "the button doesn't work" into an AI chat produces a generic answer because the agent doesn't know which button.
Screenshots help but waste tokens and force the agent to guess which of seventeen buttons you meant. Point-and-speak tools resolve the exact element and hand it to the agent with confidence and provenance.
Here is the workflow. You hold a hotkey (⌥⌘A in PinVari), circle the broken UI element, and speak what's wrong.
The tool transcribes your speech on-device, resolves the accessibility element under the circled region, binds words like "this" or "here" to a timestamped pointer trail, and screenshots the region you marked.
It then sends a resolved instruction to your AI agent via MCP. The agent knows you meant the AXButton labeled "Sign In" at those coordinates, not the "Sign Up" button 60 pixels away.
You didn't need to know the word "event handler" or type the element's ID. You pointed and spoke.
This workflow works for native macOS apps, browser UI, Electron windows, and even canvas elements (via OCR fallback when the accessibility tree is empty).
The technical advantage: macOS exposes every UI element's role and label via the Accessibility API (AXUIElementCopyElementAtPosition). A point-and-speak tool calls that API at the coordinates you marked and retrieves the named element.
Not all apps expose accessibility data. Games, some Adobe tools, and poorly built Electron apps return empty AX trees. Point-and-speak tools fall back to on-device OCR (Apple Vision) to read visible text, but OCR can't resolve interactive state (disabled, focused, checked). Well-built macOS and web apps expose full AX data; that's where point-and-speak shines.
What about filing bugs to trackers?
Learning to code means filing bugs to Linear, GitHub Issues, Jira, or Slack. Beginners struggle with bug reports because they don't know what information to include: steps to reproduce, expected vs actual behavior, environment details, screenshots.
Point-and-speak tools auto-generate structured bug reports by capturing the element, the spoken description, and the screenshot in one action.
When you circle a broken element and speak "this dropdown closes immediately when I click it," the tool can file that to Linear or GitHub with the title, description, circled screenshot, browser URL, window title, and macOS version pre-filled.
Point-and-speak to file bugs to Linear and GitHub skips the blank-form paralysis beginners face. The filed issue contains everything a teammate needs: which element, what's wrong, visual proof, and context.
You learn what a good bug report looks like by reviewing the auto-generated ones.
PinVari is a one-time $39 launch license. It is not a subscription, and nothing is uploaded by default.
FAQ
What is the best coding software for beginners in 2026?
An AI coding assistant (Cursor, Claude Code, or Zed) plus a way to point at bugs you cannot name. The assistant writes the code; a point-and-speak tool tells it which on-screen element you mean. That pairing is more useful than a classic editor alone.
Do beginners need to learn the terminal first?
No. Cursor and Zed let you start inside an editor. Claude Code is a terminal agent, so it is a slightly steeper start, but you can add it later. Learn enough terminal to run the project; you do not need to memorize every command.
What is an MCP server in simple terms?
It is a small local program that feeds extra context to your AI coding agent. Instead of you pasting screenshots, the server hands the agent structured facts, such as the named UI element you circled. It runs on your Mac at 127.0.0.1.
How do I show an AI a bug I cannot describe?
Circle the broken control and speak what is wrong. A point-and-speak tool resolves the accessibility element and sends the named target to the agent. You skip the vocabulary you have not learned yet.
Is VS Code still the best editor for beginners?
VS Code is still a solid free editor, especially with Copilot. Cursor is often easier for beginners because the AI is built in. Pick the one you will actually open every day.
Can I use these tools without uploading my code?
The capture layer can stay on-device. Transcription, OCR, and accessibility resolution run on your Mac. Your coding agent still uses whatever model account you already have, and you control what you send it.
Hand your agent the exact element
PinVari resolves what you point at into a named, executable instruction — on-device, no keys, your own agent. One click inside PinVari connects Claude Code, Cursor, VS Code or Codex — or paste one CLI line from pinvari.com/connect.
PinVari → Connect → your agent (one click)Get PinVari — $39 →