Design QA: Checklist & Process for Visual Testing Teams
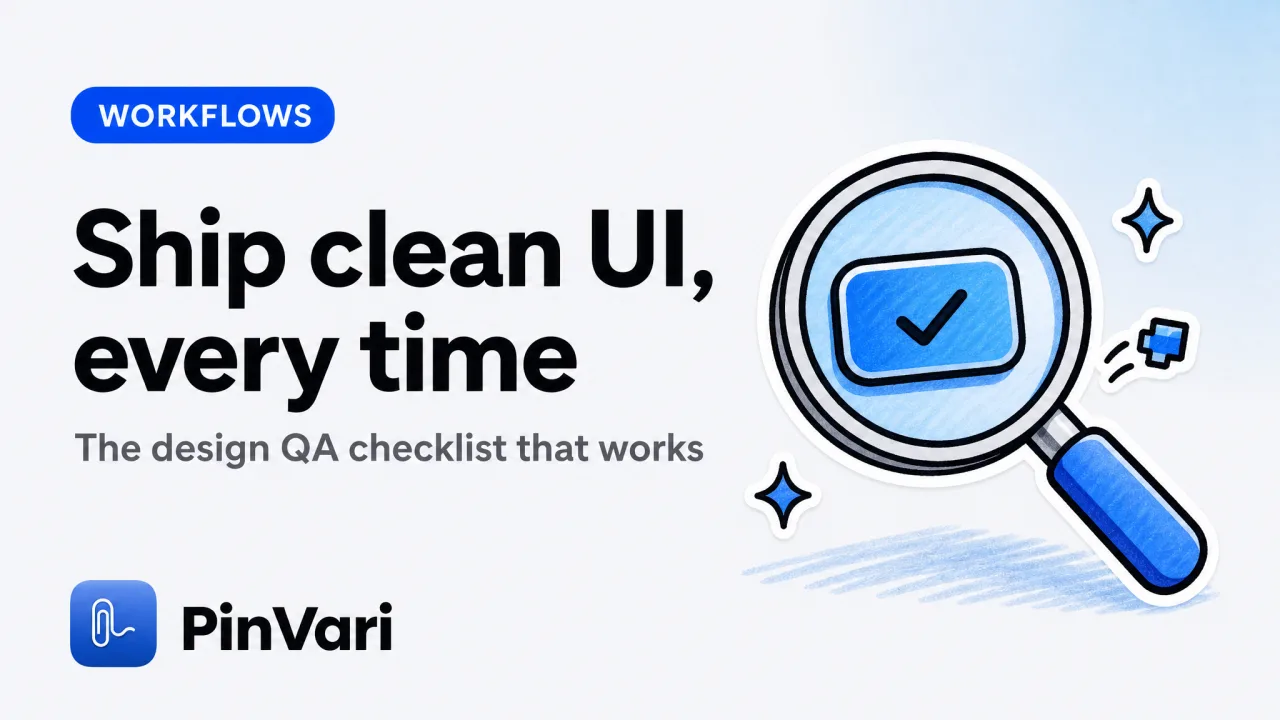
Design QA is the practice of verifying that every on-screen UI element matches the approved design before it ships, correct label, correct role, correct frame, correct visual state. A good design QA process produces named, reproducible reports that developers and AI coding agents can act on without back-and-forth.
Most teams ship broken UI because their QA reports land as vague screenshots ("the button looks wrong") instead of executable instructions ("the Submit button at #checkout-form > button[type='submit'] is 2px too narrow and missing aria-label").
Why do design QA reports get bounced?
Design QA reports get bounced because they're missing the three things a developer or agent needs to reproduce the issue: the exact element path (role + label + DOM selector or AX hierarchy), the action that triggered the broken state (click Submit, scroll to footer, resize to 768px), and a cropped, annotated screenshot showing the region you tested. A full-screen grab with a red arrow pointing at "somewhere near the top" costs 10-15 minutes of Slack ping-pong.
The AX (accessibility) tree exposes every UI element's role, title, value, and frame. If your report includes the named element, the developer can search the codebase for it. If you only attach a screenshot, they're guessing.
Tools like Accessibility Inspector on Mac show you the tree, but copying out the path by hand is slow.
A design review tool that resolves the element for you, point, speak, done, eliminates the manual work.
Common mistake: filing "the layout is broken" with a full-page screenshot and no element name. The developer sees 47 buttons and 12 input fields. Which one? The report bounces. You re-file it three hours later. The sprint slips.
What belongs in a design QA checklist?
A design QA checklist covers visual accuracy (spacing, color, typography match Figma), element identity (every interactive element has a unique, stable name/ID), state coverage (hover, focus, disabled, error states render correctly), and cross-viewport testing (desktop, tablet, mobile breakpoints). Every line item should pass the "can I file a one-sentence bug?" test.
Here's a copyable checklist for a single component:
- Visual match: margin/padding within 2px of spec, colors match hex values, fonts match weight/size.
- Element naming: every button/link/input has a
name,aria-label, or accessible title (not "button1"). - States rendered: hover, focus, active, disabled, loading, error , screenshot each.
- Viewport breakpoints: test at 1920×1080, 1366×768, 768×1024, 375×667 (or your team's target sizes).
- Keyboard navigable: tab order logical, focus ring visible.
- Screen-reader label correct: open the accessibility tree view and confirm the label text.
For each failed item, your bug report should name the element, state the expected vs actual behavior in one sentence, and attach a cropped screenshot with the broken region circled or highlighted.
| Checklist Item | Pass Criteria | Evidence Required |
|---|---|---|
| Visual match | Within 2px of Figma spec | Screenshot overlay or diff |
| Element naming | Has stable name / aria-label | AX tree snippet or DOM inspector grab |
| States rendered | All 6 states match mocks | One screenshot per state |
| Viewport coverage | Renders correctly at 4 breakpoints | Screenshot at each size |
| Keyboard nav | Tab order matches design | Screencast or step list |
| Screen-reader label | Correct label in AX tree | AX inspector screenshot |
The goal is zero ambiguity. If a developer reads the report and can't reproduce the issue in under 60 seconds, the report needs more detail.
Why this matters for AI agents: AI coding agents like Claude Code, Cursor, and Codex can fix UI bugs autonomously, but only if you hand them a named element and a clear instruction. "Fix the Submit button's padding" resolves instantly. "The form looks wrong" triggers a clarifying question loop.
How do you run design QA at scale?
Running design QA at scale means batching checks by component (test all buttons in one pass, all forms in another), automating visual diffs where possible, and recording your findings as you go instead of writing reports afterward. Teams that QA 50+ screens per sprint can't afford to screenshot, annotate, write a ticket, attach files, and assign, one bug at a time, without falling behind.
The fastest process I've seen:
- Walk the build with the design spec open (Figma, Sketch, or PDF side-by-side).
- Point at the broken element and speak the issue ("Submit button 2px too narrow, missing aria-label"). Use a tool that resolves the element and transcribes your words on-device, no typing.
- The tool auto-crops the screenshot to the circled region and attaches the element path + your spoken instruction. One hotkey, done.
- Batch-file to your tracker (Linear, GitHub, Jira, Slack) or hand off to your AI agent workflow if you're letting Claude Code apply the fixes.
PinVari does exactly this: hold ⌥⌘A, circle the element, speak the issue, press ⌥⌘A again to finish. It resolves the AX element (role/label/frame), transcribes your voice on-device (no API key), and returns a named instruction + cropped screenshot.
Connect it to Claude Code via MCP and the agent gets the resolved path automatically, no copy-paste, no Slack relay. $39 one-time for the first 500 licenses, macOS 14+ (Sonoma), Apple Silicon and Intel.
Pro tip: if you're testing a web app in Chrome, open DevTools → Elements → Accessibility pane to see the accessibility tree view for the selected node. Copy the role + name into your report. If you're testing a native macOS app, use Accessibility Inspector (Xcode → Open Developer Tool → Accessibility Inspector).
What's the difference between design QA and design review?
Design QA happens after code is written, you're verifying the implementation matches the approved design. Design review happens before or during build, you're critiquing the design itself (spacing feels tight, button hierarchy unclear, color contrast fails WCAG).
QA is a pass/fail checklist. Review is collaborative feedback.
The design review process often uses annotation tools (Marker.io, Jam.dev, Figma comments) where stakeholders leave notes on a mockup or staging build. Design QA uses the same tools but applies stricter criteria: you're not asking "does this feel right?", you're checking "does this match the spec within tolerance?".
Many teams conflate the two and end up with design review comments filed as QA bugs ("I don't like the shade of blue") or QA bugs filed as review notes ("the padding is 10px but spec says 12px, thoughts?"). Keep them separate.
Review refines the design. QA enforces it.
Skip the wide grid. Read each option as a card.
#
Design review
Happens When: Pre-build or mid-build
Output: Feedback, iteration
Tools: Figma, Marker.io, Miro
#
Design QA
Happens When: Post-build, pre-ship
Output: Pass/fail bug reports
Tools: Accessibility Inspector, PinVari, Jam.dev
#
Visual regression testing
Happens When: CI/CD, automated
Output: Pixel diff screenshots
Tools: Percy, Chromatic, BackstopJS
What tools do design QA teams actually use?
Design QA teams use a mix of browser DevTools (inspect element, measure spacing, check computed styles), accessibility inspectors (macOS Accessibility Inspector, Chrome AX pane, NVDA/JAWS for screen-reader testing), screenshot tools (CleanShot X, Snagit, or built-in macOS screenshot), and bug trackers (Linear, Jira, GitHub Issues). The bottleneck is the manual assembly: screenshot → crop → annotate → find element name → write ticket → attach files.
Jam.dev (free) auto-captures console logs, network requests, and browser state when you report a bug, dominant for browser-only QA. Limitation: Chromium/browser only, can't test native macOS apps, Electron windows, or non-web UI.
Marker.io ($39+/mo per team) adds visual annotation to staging sites, great for agencies reviewing client builds. Browser-only, no voice input, no native app support.
CleanShot X ($29 one-time) is the Mac screenshot king, scrolling capture, annotation, cloud upload. Zero understanding of what's on screen, so you still manually find element names.
PinVari ($39 one-time, first 500 licenses) resolves the exact accessibility element you circle or point at, transcribes your spoken instruction on-device, and hands a named, executable report to your AI coding agent over local MCP or files it to Linear/GitHub/Slack. Works on native macOS apps, Electron, browsers, anywhere the AX tree exists.
If the AX tree is empty (canvas, some games), it falls back to on-device Vision OCR. The moat: macOS exposes the UI element under any point via AXUIElementCopyElementAtPosition, PinVari resolves the named element, not a pixel guess.
The right tool depends on whether you're testing browser-only or native apps, and whether you want to feed reports to humans or agents.
FAQ
#
What is design QA vs QA testing?
Design QA verifies that the implemented UI matches the approved design spec (spacing, color, typography, element naming). QA testing is broader, it includes functional testing (does the button submit the form?), integration testing (does the API return correct data?), and performance testing (does the page load in under 2s?).
Design QA is a subset of QA focused on visual and accessibility correctness.
#
How do you automate design QA?
You automate design QA with visual regression testing tools (Percy, Chromatic, BackstopJS) that screenshot your app at multiple breakpoints and diff against baseline images. They catch unintended layout shifts but can't verify element naming or accessibility labels, those still require manual checks or custom scripts that walk the AX tree.
Most teams run automated visual tests in CI/CD and reserve manual design QA for new features or high-risk changes.
#
What tools can read the accessibility tree on macOS?
Accessibility Inspector (Xcode → Open Developer Tool → Accessibility Inspector) shows the AX tree for any running app. Point the crosshair at an element to see its role, label, value, frame, and parent hierarchy.
For browsers, Chrome DevTools has an Accessibility pane under Elements. PinVari resolves the AX element under any point programmatically (AXUIElementCopyElementAtPosition) and returns the path + screenshot in one gesture, no manual inspector workflow.
#
Can AI coding agents fix design bugs autonomously?
Yes, if the bug report includes the exact element path, expected vs actual state, and a cropped screenshot. Claude Code, Cursor, Codex, and Windsurf can locate the element in the codebase, apply CSS/layout fixes, and submit a PR.
Vague reports ("the page looks wrong") trigger clarifying questions. Named, executable instructions ("Submit button padding should be 12px vertical, currently 10px, element #checkout-form > button[type='submit']") resolve in under 60 seconds.
Connect your QA tool to the agent via MCP for zero-copy handoff.
#
What's the difference between a design review tool and a screenshot tool?
A screenshot tool (CleanShot X, Snagit) captures pixels and lets you annotate them, no understanding of what's on screen. A design review tool (Marker.io, PinVari) resolves the UI element you're annotating (role, label, CSS selector, AX path) so the report is reproducible.
Screenshot tools are faster for one-off shares. Design review tools are faster for filing bugs developers or agents must act on.
#
How do you QA native macOS apps vs web apps?
For native macOS apps, use Accessibility Inspector to verify element roles/labels and screenshot tools to capture visual state. For web apps, use browser DevTools (inspect element, computed styles, Accessibility pane) plus visual regression tests.
The accessibility tree structure is similar (both expose role/label/value) but web apps use DOM selectors and native apps use AX hierarchy paths. PinVari works on both, it resolves the AX element regardless of whether the app is native, Electron, or browser-based.
Hand your agent the exact element
PinVari resolves what you point at into a named, executable instruction — on-device, no keys, your own agent. One click inside PinVari connects Claude Code, Cursor, VS Code or Codex — or paste one CLI line from pinvari.com/connect.
PinVari → Connect → your agent (one click)Get PinVari — $39 →