Vibe Coding Tutorial: Build Apps with Cursor & Claude
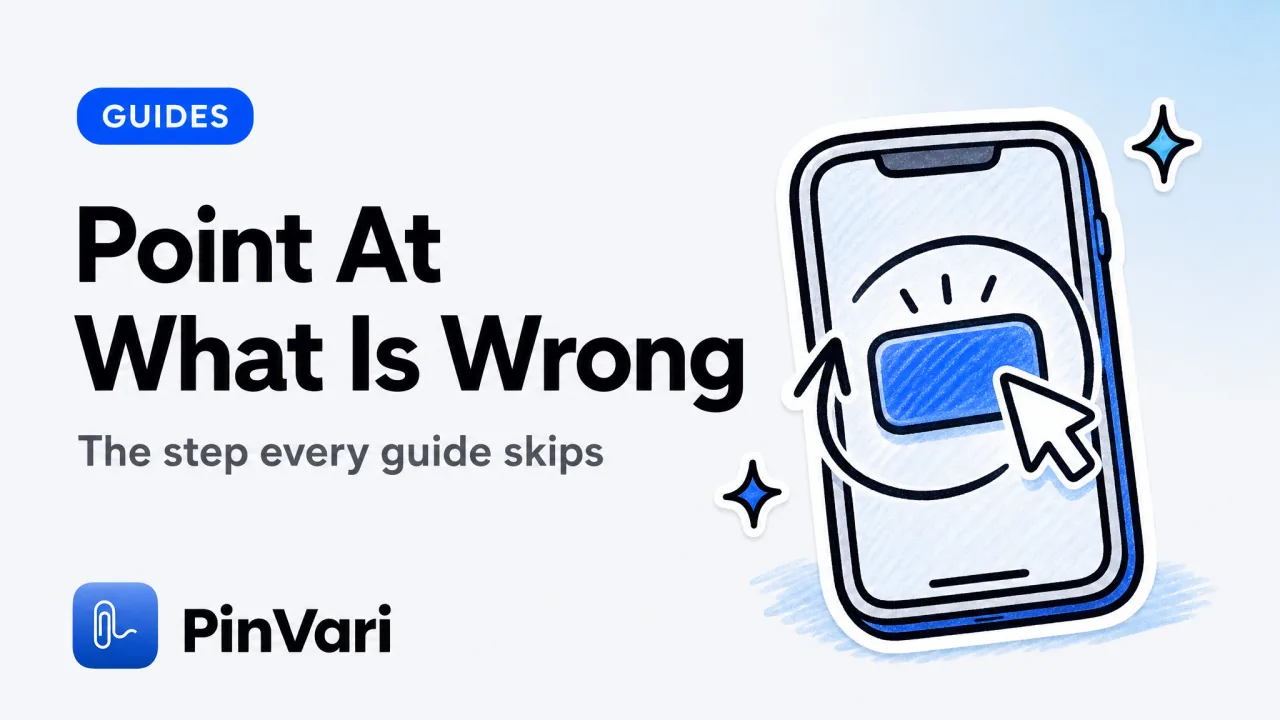
A vibe coding tutorial should spend most of its time on the step everyone actually gets stuck on, telling the AI precisely what is wrong on screen, because the prompting and setup are the easy parts. You build apps with Cursor and Claude by describing what you want, but the loop stalls the moment you have a running screen and need to point at the thing that looks off.
Most tutorials treat the review step as an afterthought and spend their pages on prompt tricks. The result is a beginner who can generate a first version fast and then spends an hour fighting the AI over a button that will not move where they want it.
What do most vibe coding tutorials get wrong?
Most vibe coding tutorials get the setup right and the feedback loop wrong. They teach you to write a good first prompt, then leave you to describe fixes in prose, which is the exact skill a non-coder does not have and does not need to fake.
Here is the trap. You look at your app, something is visually wrong, and you type "make the header smaller and move the login button, it looks weird on mobile." The AI cannot see your screen the way you do, so it guesses which header and which button, and half the time it edits the wrong one.
That guessing is the source of the frustration, not the model's ability. A good set of vibe coding tools can generate excellent code and still leave you stuck, because the bottleneck moved from writing code to describing what to change.
The hard part of vibe coding is not generating code, it is communicating a visual problem precisely. A tutorial that skips this teaches you to start projects, not finish them.
How do you tell the AI what is wrong on screen?
You tell it by giving it a target it cannot misread, which means naming the exact element rather than describing where it sits. Prose location is the weak link, because "the button near the top" maps to several controls on any real screen.
There are three ways to point the AI at a target, and they are not equal.
| Method | What the AI receives | How often it hits the right target |
|---|---|---|
| Prose description | "the button near the top" | Low on busy screens |
| Screenshot plus prose | An image it re-reads each turn | Better, still a guess |
| Point-and-speak | The named element you circled | High, the target is named |
The first two are what most vibe coding platforms give you by default. The third is what closes the gap, and it is the one this tutorial is built around.
Screenshots feel like they should help, and they do carry visual detail, but they are a picture the AI has to interpret every single turn. The cost of that, and why it does not fix the guessing, is covered in why the AI fixes the wrong element.
The point-and-speak loop, step by step
The loop is short: point at the broken thing, say what you want, let the AI act, check the result. On a Mac you can do this without ever describing an element in words.
Step one, run your app. Whether you built it with Cursor, Claude, or another tool, get it to a running screen you can look at. Vibe coding with Claude and a live preview side by side is the setup this loop assumes.
Step two, point and speak. Hold ⌥⌘A, circle the control that looks wrong, and say what you want in plain language: "this login button should be full width on mobile" or "this heading is too big." The tool screenshots the region, transcribes your words on-device, and resolves the exact element you circled, its role, label, and position, with a confidence score.
Step three, let the AI act. The resolved element and your instruction go to your coding agent over a local connection. The agent now knows the target by name, so it edits the right component instead of hunting through the code for what you might have meant.
Step four, check and repeat. Look at the result. If it is right, move to the next issue.
If your words were ambiguous, the tool lets the agent ask you to point again rather than guessing.
The loop is fast because each pass removes a whole round of clarification. In the prose version, you type a description, the AI guesses, you correct the guess, and only then does it act.
Here the pointing is the description, so the guess-and-correct round never happens, and a review that used to take ten messages takes four steps.
This also changes what you spend your attention on. Instead of translating a visual problem into words the AI might misread, you look, point, and say the outcome you want.
That keeps you in the design headspace, judging how the app should feel, rather than dropping into a coding vocabulary you were trying to avoid in the first place.
Say what you want, not how to code it. "This should line up with the box above it" is a better instruction than an attempt at CSS you are unsure of. The AI is good at the code; your job is to aim it.
The reason this works is that the AI stops guessing which rendered thing you mean. The mechanics of how a pointer resolves to a named element are explained in how AI agents know which UI element you are pointing at.
Which vibe coding tools should a beginner pick?
Pick a generation tool you enjoy and pair it with a precise feedback method, because the pairing matters more than the brand. A beginner does best with a tool that shows a live preview and an agent that can act on your codebase.
Cursor and Claude are a strong pairing for building a real app, not just a toy, because you can keep the code and grow it. Browser-first builders like the hosted vibe coding platforms are faster to start but harder to escape when you outgrow them.
Whatever you pick, the deciding feature for a non-coder is how you give feedback. A tool is only as good as your ability to tell it what is wrong, and that skill transfers across every generator you will ever use.
If you are still choosing, the best coding software for beginners compares the options for someone new.
Do not judge a vibe coding app only by how good its first output looks. The first version is always the easy 80 percent. Judge it by how quickly you can fix the last 20 percent, which is entirely about the feedback loop.
Why does the AI keep fixing the wrong thing?
The AI fixes the wrong thing because it is working from a description that fits several controls, so it picks one and commits. On a screen with three similar buttons, prose alone is a coin flip, and the model will sound confident about the wrong choice.
This is not a sign you are bad at prompting. It is a structural limit: the model has no shared reference to your screen, so it re-derives which rendered control maps to which line of code, and that derivation is where it slips.
The general fix is to feed it tighter context, the principle behind how to give Claude Code context.
Pointing removes the derivation entirely. When the AI receives the resolved accessibility element, its label and frame, there is nothing to guess, and the wrong-element edits stop.
That single change is what turns vibe coding from a fight into a flow.
The capture side runs on-device, with transcription through Apple frameworks and nothing uploaded by default, so your screen stays yours. You bring your own agent and your own model.
It ships as a notarized Developer-ID DMG and is a one-time $39 launch license through Polar rather than a subscription, and the pricing has the full detail if you want to add pointing to your loop.
FAQ
#
What is a vibe coding tutorial supposed to teach?
It should teach the full loop, generating a first version and then fixing it, not just prompting. The step most tutorials skip is how to tell the AI precisely what is wrong on a running screen, which is where beginners actually get stuck.
#
Can you vibe code without knowing how to code?
Yes, if you can describe what you want clearly and point at what is wrong. You do not need to write CSS, but you do need a reliable way to aim the AI at the exact element, because prose descriptions make it guess.
#
What are the best vibe coding tools for beginners?
Pick a generator with a live preview, such as Cursor with Claude, and pair it with a precise feedback method. The generator brand matters less than how quickly you can tell it what to change on the screen you are looking at.
#
Why does the AI keep changing the wrong element?
Because your description fits several controls and the model has no shared reference to your screen, so it guesses. Giving it a named target, the exact element you pointed at, removes the guess and stops the wrong-element edits.
#
How do I vibe code with Claude on a Mac?
Run your app with a live preview next to Claude, then point at any control and speak the change you want. A point-and-speak tool resolves the element and hands it to Claude, so it edits the right component instead of inferring one from a screenshot.
#
Do I still need screenshots when vibe coding?
Only as evidence for visual details like spacing, cropped to the element. The named element is what the AI acts on, so a full-screen shot on its own is a weak input because it still does not tell the model which control you mean.
Hand your agent the exact element
PinVari resolves what you point at into a named, executable instruction — on-device, no keys, your own agent. One click inside PinVari connects Claude Code, Cursor, VS Code or Codex — or paste one CLI line from pinvari.com/connect.
PinVari → Connect → your agent (one click)Get PinVari — $39 →