Vibe Coding Tools: The Real Guide for Non-Coders Building with AI
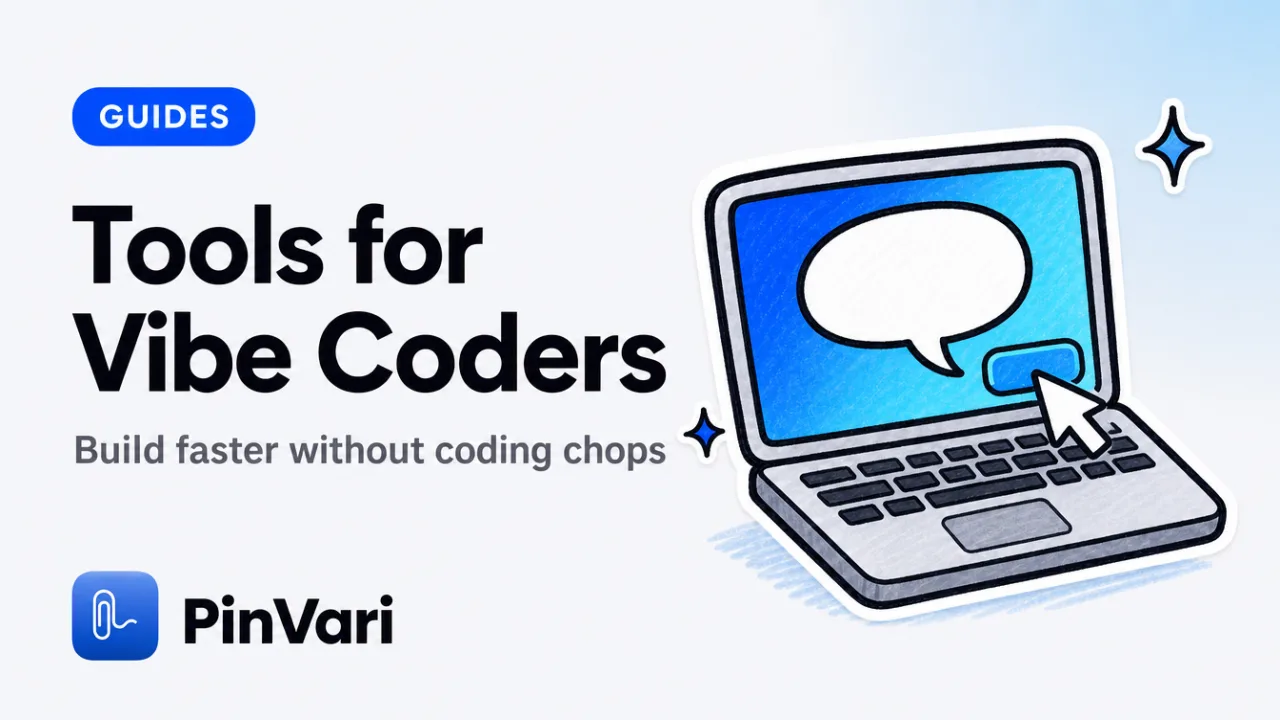
Vibe coding tools help you build real products with AI agents like Cursor, Lovable, Bolt, or v0 when you do not have deep coding skills. The best ones let you point at the thing that's wrong on screen and speak what you want fixed, then hand your agent an exact, executable instruction.
Most advice about vibe coding tools treats them like magic. The reality is they are screen-capture workflows optimized to shrink the loop from "it looks bad" to "fixed."
The cycle is familiar: take a screenshot, paste it into Claude or Cursor, type "fix the spacing here," and watch the AI change the wrong element because it guessed from pixels. The tools below solve that by giving your agent the named UI element you circled, the spoken instruction, and a confidence score.
What counts as a vibe coding tool?
A vibe coding tool bridges the gap between what you see on screen and what your AI coding agent understands. The minimum viable version is a screenshot app (CleanShot X, macOS's built-in ⌘⇧5) plus voice typing (Wispr Flow, built-in dictation).
You capture the broken UI, speak or type what's wrong, and paste both into your agent. The next tier adds context extraction: the tool reads window titles, URLs, or on-screen text and attaches them to the screenshot.
That helps your agent locate the file or component without you typing a path. The top tier resolves the exact UI element you pointed at — role, label, frame, parent chain — using macOS's Accessibility API or Vision OCR.
Instead of "the button in the top-right corner," your agent receives AXButton "Sign In" at (1240, 86) confidence 0.94. The agent knows which button, not which pixel region.
Vibe coding tools exist because you think in "that dropdown is broken" and AI agents think in code. The tool translates your deictic gesture ("that") into a named element the agent can target.
Free vibe coding tools include screenshots plus voice typing, browser DevTools, and Jam.dev for browser-only workflows.
Why screenshots alone waste your agent's tokens and time
Screenshots waste Claude Code tokens because pixel data is the least efficient way to describe UI state. A full-window Mac screenshot lands near 1,300 to 1,500 vision tokens after downscale, and the model still has to guess which pixel region you meant.
Your agent cannot click a pixel. It needs the element's code representation.
If you circle a button in a screenshot and type "make this blue," the agent infers from visual features which <button> or AXButton you meant. That inference fails when multiple buttons look similar, when the design is mid-redesign, or when the element is off-screen in the screenshot crop.
How AI agents know which UI element you mean explains the resolution chain. macOS exposes every on-screen element via AXUIElementCopyElementAtPosition, returning role, title, value, frame, and parent hierarchy.
A tool that queries this API hands your agent AXButton "Submit" parent:AXGroup "login-form" instead of "the blue button below the password field." The agent can then search your codebase for button tags or SwiftUI Button("Submit") views.
If you paste a screenshot and say "fix the spacing here," your agent will guess. If the guess is wrong, you have burned a round-trip and still have the broken UI.
Voice typing (Wispr Flow, macOS dictation) speeds up the instruction half but does not solve the element-targeting half. You still speak "the dropdown in the top nav" and hope your agent finds the right one.
Vibe coding tools comparison: free vs paid
Skip the wide grid. Read each option as a card.
Screenshots plus typing
Price: Free.
Point and speak: No.
Named elements: No.
Works on native apps: Yes.
MCP: No.
Best for: One-off fixes, patient iteration.
Jam.dev
Price: Free.
Point and speak: No.
Named elements: Limited (DOM).
Works on native apps: No (browser only).
MCP: No.
Best for: Browser bug reports to a team.
Jam.dev captures console logs, network requests, and DOM snapshots. Limitation: it only works in Chromium/Firefox, so you cannot capture Electron apps, native macOS apps, or Safari.
If your vibe coding workflow lives in a browser builder (Lovable, v0, Bolt in-browser preview), Jam.dev gets you most of the way.
Loom
Price: Free to about $12/mo.
Point and speak: No.
Named elements: No.
Works on native apps: Screen video, not a named element.
MCP: No.
Best for: Async video walkthroughs.
Wispr Flow
Price: About $12/mo.
Point and speak: Voice only.
Named elements: No.
Works on native apps: Yes (voice layer).
MCP: No.
Best for: Fast dictation to any app.
PinVari
Price: $39 one-time launch (then $59).
Point and speak: Yes.
Named elements: Yes (AX plus OCR).
Works on native apps: Yes (macOS 14+).
MCP: Yes (local).
Best for: Vibe coders who already have their own agent.
You hold ⌥⌘A, circle the misaligned button, say "move this 8 pixels left," release. PinVari screenshots, transcribes on-device, resolves AXButton "Continue" at (720, 540), and hands the instruction to your agent via the local MCP server on 127.0.0.1.
If you are on the free tier of Claude or Cursor and hitting rate limits, every screenshot you paste burns tokens. A tool that resolves the element name and sends only a cropped screenshot of the circled region cuts that spend.
How to pick the right vibe coding tool for your workflow
Start with your current agent and platform. If you are using Cursor or Claude Code on macOS and building a native app (Electron, SwiftUI, Tauri), you need a tool that works outside the browser — that rules out Jam.dev.
If you are building a web app in Lovable or v0 and only testing in Chrome, Jam.dev is free and good enough. Next, count your fix iteration speed.
If you make several UI tweaks per session and each wrong guess costs you another verify-and-reprompt, the wasted minutes add up. A point-and-speak tool that eliminates guessing is the upgrade.
Why Claude Code fixes the wrong element is the pain point vibe coders hit hardest. If this happens more than twice per session, you need named element resolution.
Check if your agent supports MCP servers. Claude Code and Cursor both do:
claude mcp add --scope user pinvari -- "$HOME/.pinvari/mcp/pinvari-mcp"An MCP-connected tool hands your agent the instruction directly. You do not copy-paste screenshots or re-type context.
MCP server for AI agent screen context explains the local 127.0.0.1 handoff. If you are allergic to subscriptions, PinVari is one-time $39 for the first 500 licenses, then $59.
If you are on a free Cursor or Claude tier and cannot afford paid tools yet, use CleanShot X plus built-in dictation plus very explicit written descriptions. Type "the blue Submit button inside the white card, below the password input" instead of "this button."
Vibe coding tools on GitHub and Reddit
Threads on r/ClaudeAI, r/cursor, and r/buildinpublic keep circling two questions. How do I show Claude what's wrong on screen without uploading my whole codebase?
And why does Cursor keep fixing the wrong button, div, or input? The recurring advice is use voice to describe intent, but name the element explicitly ("the AXButton labeled Continue") or the agent guesses.
A formal vibe coding tools ranking does not exist. Fit by workflow instead:
- Jam.dev for browser-only team bug tracking (free).
- PinVari for one-time buy, on-device, named elements.
- Loom for async video walkthroughs.
- CleanShot X plus voice typing for DIY budget workflows.
Most GitHub experiments in this space are not production-ready. PinVari's MCP server is local-only and installable via the claude mcp add --scope user command above if you have the app.
Real workflow: point, speak, agent fixes it in one round
You're building a landing page in Cursor. The "Get Started" button is 12 pixels too high, overlapping the hero text.
You press ⌥⌘A, circle the button, say "move this down 12 pixels," release. PinVari screenshots the circled region, transcribes on-device, resolves AXButton "Get Started" at frame (680, 320), and sends the instruction to your agent via MCP.
Your agent receives:
- Element:
AXButton "Get Started"with role, label, frame, and parent chain (AXGroup "hero-section"). - Instruction: "move this down 12 pixels."
- Screenshot: cropped to the circled region, not the full screen.
- Confidence: 0.96.
The agent searches your codebase for components labeled "Get Started" inside a hero-section container, adjusts the spacing, and applies the fix. You verify in preview.
Without named element resolution, you'd paste a full screenshot, type "the button at the top needs to move down," and the agent guesses which button. If it guesses wrong, you re-prompt.
The vibe coding superpower is closing the "I see it's broken" to "agent fixes it" loop in one round. That requires the agent knowing exactly which element you meant.
Can Claude Code see my screen? explains that Claude Code cannot see your screen by default. You have to feed it screenshots or let a tool act as the screen-context layer.
If pointing instead of explaining is the part of your loop you want to fix first, PinVari is the one-time $39 tool built for exactly that.
FAQ
What are the best free vibe coding tools?
Jam.dev for browser bug reports (console logs, DOM snapshots, network requests) and CleanShot X for macOS screenshot workflows. Pair either with built-in macOS dictation or Wispr Flow for voice input.
Jam.dev only works in browsers, so if you are building a native macOS or Electron app, you need a screenshot plus typing workflow or a native capture tool.
Do vibe coding tools work with Cursor and Lovable?
Yes. They work with Cursor, Lovable, Bolt, v0, and any AI coding agent that accepts screenshots or MCP instructions. Cursor supports MCP servers natively, so PinVari can hand it the resolved element directly.
Lovable and Bolt run in the browser, so you paste screenshots and text. PinVari can still capture the element; you paste into the chat instead of using MCP.
How do I know if a vibe coding tool resolves the actual UI element or just guesses from pixels?
Check if the tool mentions the macOS Accessibility API (AX) or Vision OCR for element resolution. PinVari queries AXUIElementCopyElementAtPosition to get the exact role, label, and frame, then falls back to on-device Vision OCR if the element has no AX label.
Jam.dev captures the DOM (browser only). If the tool does not mention AX, OCR, or DOM, it is pixel-guessing.
Are paid vibe coding tools worth it if I am just starting out?
If you make only a few UI fixes per session and can afford extra round-trips, stick with free tools (screenshots plus dictation). If Claude Code keeps fixing the wrong element, named-element tools earn their keep.
Can I use vibe coding tools for filing bugs to Linear or GitHub?
Yes. Point-and-speak filing works with PinVari (Linear, GitHub, Slack) and Jam.dev (browser bugs to team trackers). You point at the broken element, speak the issue, and the tool files a ticket with the screenshot, element path, and instruction attached.
What's the difference between vibe coding tools and screen recording tools like Loom?
Screen recording tools capture video walkthroughs for async communication. Vibe coding tools capture executable instructions your AI agent can act on immediately.
Loom is for "watch this video and fix it sometime." PinVari is for "fix this button right now in one round."
Hand your agent the exact element
PinVari resolves what you point at into a named, executable instruction — on-device, no keys, your own agent. One click inside PinVari connects Claude Code, Cursor, VS Code or Codex — or paste one CLI line from pinvari.com/connect.
PinVari → Connect → your agent (one click)Get PinVari — $39 →