Cursor AI Tutorial: Beginner Guide for Teams
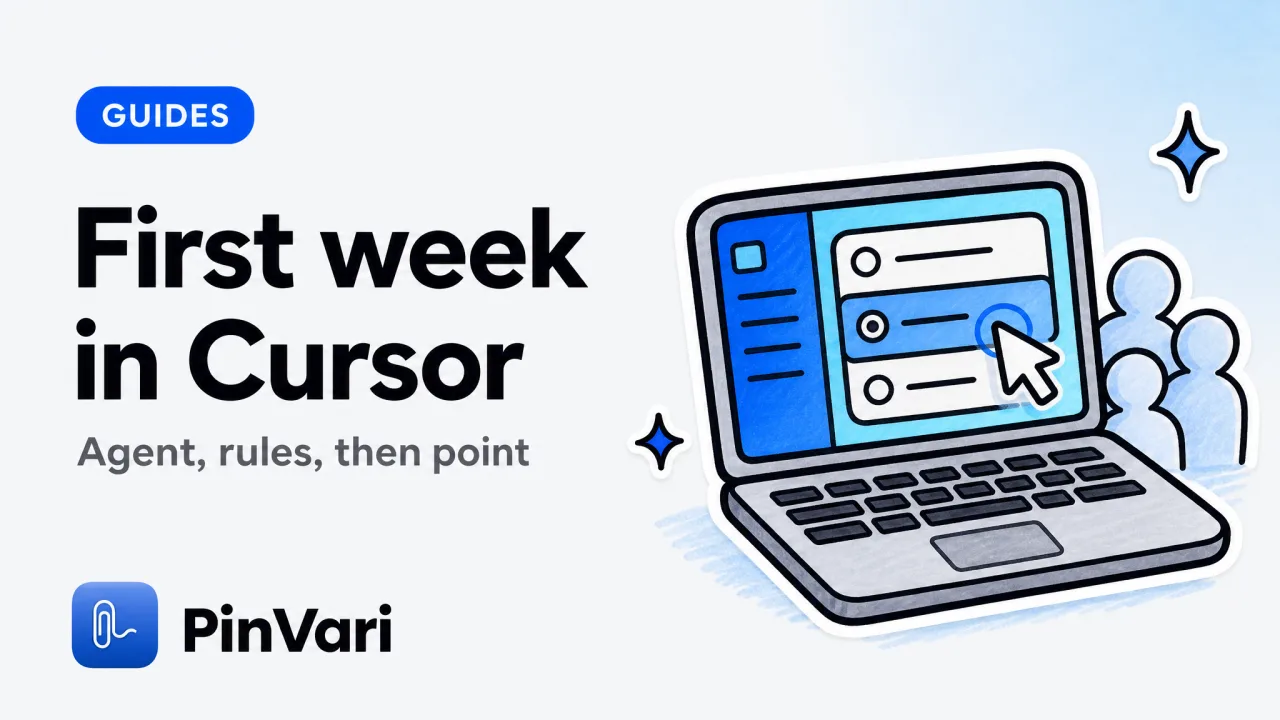
A Cursor AI tutorial that helps a team is not a tour of every panel. It is install, one Agent-mode task in a real repo, a shared rules file, and a way to send the named UI element when the bug is on screen.
Most beginner guides stop at Tab complete. That is a nice demo. It does not scale to twenty people on one checkout flow.
If you are choosing an editor versus a terminal agent, read Claude Code vs Cursor first. This post assumes you picked Cursor and need the first week to stick.
What should a team set up first in this Cursor AI tutorial?
Install Cursor. Open the repo you already ship. Sign in with the team plan you actually pay for. Do not create a toy repo for the tutorial. Toy repos teach toy habits.
Turn on Agent mode for one ticket. Read Cursor Agent mode if the panel names have moved. The idea is the same: the agent plans, edits, and shows a diff.
Add a Cursor rules file in the repo. Put the language, the test command, and the rule that visual bugs need a named element. Personal rules do not travel.
Connect MCP only after the first ticket merges. Cursor MCP is the wiring post. Filesystem and GitHub are enough for week one.
Repo first, models later. Switching models in the first hour hides whether Agent mode or the prompt is failing.
The first team task should be a ticket you would have done by hand. If the agent cannot finish it with a test command in the rules file, the tutorial is not done.
How do you run the first Cursor AI tutorial task?
Pick a ticket with a failing test or a visual bug you can reproduce in two minutes.
For a test: mention the file, paste the failure, ask for a fix plus the test command from the rules file. Review the diff. Run the test yourself once.
For a visual bug: do not describe the button in a paragraph. Hold Option-Command-A, circle the control, speak the outcome. The agent should receive the AX role, label, frame, a crop, and the transcript.
That packet can ride MCP if you connected PinVari. It can also be pasted. Pasting a full desktop is the move this tutorial is trying to kill.
If Agent mode starts editing a file you did not mention, stop it. Add the path. Then continue. Teaching the team to interrupt is part of the tutorial.
Three marks in one breath get three word buckets. Dwell about 0.2s if you do not want to draw. Option-Command-P if you need to scroll. Confidence below 0.8 should ask.
Window text can go with the packet, up to 40,000 characters including text scrolled out of view, plus the browser URL from AXWebArea.
How do you use Agent mode without burning the context window?
Mention files. Do not dump the repo. If Cursor context used keeps climbing, you are pasting screenshots or whole logs.
Keep chat threads short. One ticket per thread. Close it when the PR opens.
Rules belong in the repo so every teammate gets the same test command. Do not hide the lint rule in a personal snippet.
At scale, decide who may accept Agent writes. Juniors open PRs. Mains stay protected.
Two people in Agent mode on the same files is a race. Assign the ticket. The other person reviews.
One ticket, one thread, one writer. That is the team version of this Cursor AI tutorial.
The $39 capture license is one-time. Cursor seats are separate. Details for the capture app sit on the pricing block.
If you already use Claude Code for long repo tasks, keep it. This tutorial does not ask you to burn the terminal. It asks the team to stop describing buttons in prose inside Cursor.
On canvas or Electron, AX can be empty. On-device OCR is the fallback. AXManualAccessibility plus a short retry helps Chromium. Ask, never guess, when confidence is below 0.8.
FAQ
Is this Cursor AI tutorial enough for a complete beginner?
Enough to merge one ticket. It is not a course on the language you are editing. Keep a human in review.
How is Agent mode different from Tab complete?
Tab complete guesses the next tokens at the caret. Agent mode plans across files. Use Tab for the line. Use Agent for the ticket.
Do we need MCP on day one of a Cursor AI tutorial?
No. Add it when the bug is on a running UI or when you want the agent to open PRs. Rules and one ticket come first.
Can a whole team follow the same Cursor AI tutorial?
Yes, if the repo and the rules file are shared. The tutorial fails when each person uses a personal prompt library and a different model.
How do we stop Cursor from editing the wrong button?
Send the AX name and a crop. Do not describe this button. If confidence is low, confirm.
Should we replace Claude Code with Cursor after this tutorial?
Not automatically. Some teams keep both. Do not run both on the same files at once.
The fastest team I have watched finished the first week with one rules file, one MCP allowlist, and a habit of circling the broken control. They did not finish it with a longer tutorial. They finished it with a merged PR.
What does a shared Cursor rules file look like for this tutorial?
Keep it short. Language, package manager, test command, PR rule, visual-bug rule.
Example lines I actually want in a repo:
- Use the existing test runner. Do not add a second one.
- Open a PR. Do not push main.
- Visual bugs need an element name and a crop, not a paragraph.
- If you cannot name the control, ask for a capture.
That is enough for a team. A 400-line rules file is a novel nobody reads.
Short rules get followed. Long rules get ignored, then blamed on the model.
Common first-week failures:
- People chat instead of Agent, then say Cursor cannot edit.
- People @ the whole repo and hit the context ceiling.
- People paste a desktop PNG of staging, including a token in the URL bar.
- Two people Agent the same file.
Fix those in the standup, not with another plugin.
How to give Cursor the same quality of context you would give Claude Code: how to give Claude Code context is the mindset. Files plus a named element. Not a memoir.
If the team also uses voice, vibe coding and how to vibe code pair with this tutorial. Speak the outcome. Point at the control. Let Agent read the file you mentioned.
A full first-week schedule if you want one: Monday install and rules. Tuesday one test ticket. Wednesday one visual ticket with a capture. Thursday PR review habits. Friday prune unused models. That is a Cursor AI tutorial a manager can put on a calendar. A note on models inside Cursor: pick one default for the repo and put it in the wiki. Switching models mid-ticket makes the tutorial unreadable. You will not know whether Agent mode, the rules, or the model failed.
If Tab complete annoys the room, turn it down. This Cursor AI tutorial is about Agent plus context, not about arguing over ghost text.
Privacy: do not paste customer data into a cloud model if the ticket does not need it. Crop the email. Redact the token. The capture app can stay on-device. Cursor still sends the prompt to whatever backend you chose. Know the difference.
After week one, the only metric I care about is tickets merged with a named element on visual bugs. Not lines of Agent output. Not stars on a rules file. I also ask each new hire to walk a teammate through their first Agent pass. You will see them paste a full desktop image. You will stop them. That walkthrough is part of the Cursor AI tutorial now.
If the laptop is a shared staging machine, do not leave Agent mode signed into a personal account. Use the team seat. Sign out when you stand up.
When a visual ticket bounces, do not add a rule that says be careful. Add a rule that says no visual ticket without an element name. Then enforce it in review. The tutorial is over when that review comment is rare.
A last first-week exercise: take a bug that already shipped, circle the control, and ask Agent to write the regression test. If the test names the role and the label, the team learned the lesson. If the test queries a random CSS class, run the exercise again.
Hand your agent the exact element
PinVari resolves what you point at into a named, executable instruction — on-device, no keys, your own agent. One click inside PinVari connects Claude Code, Cursor, VS Code or Codex — or paste one CLI line from pinvari.com/connect.
PinVari → Connect → your agent (one click)Get PinVari — $39 →