Build MCP Server: Step-by-Step Implementation Guide
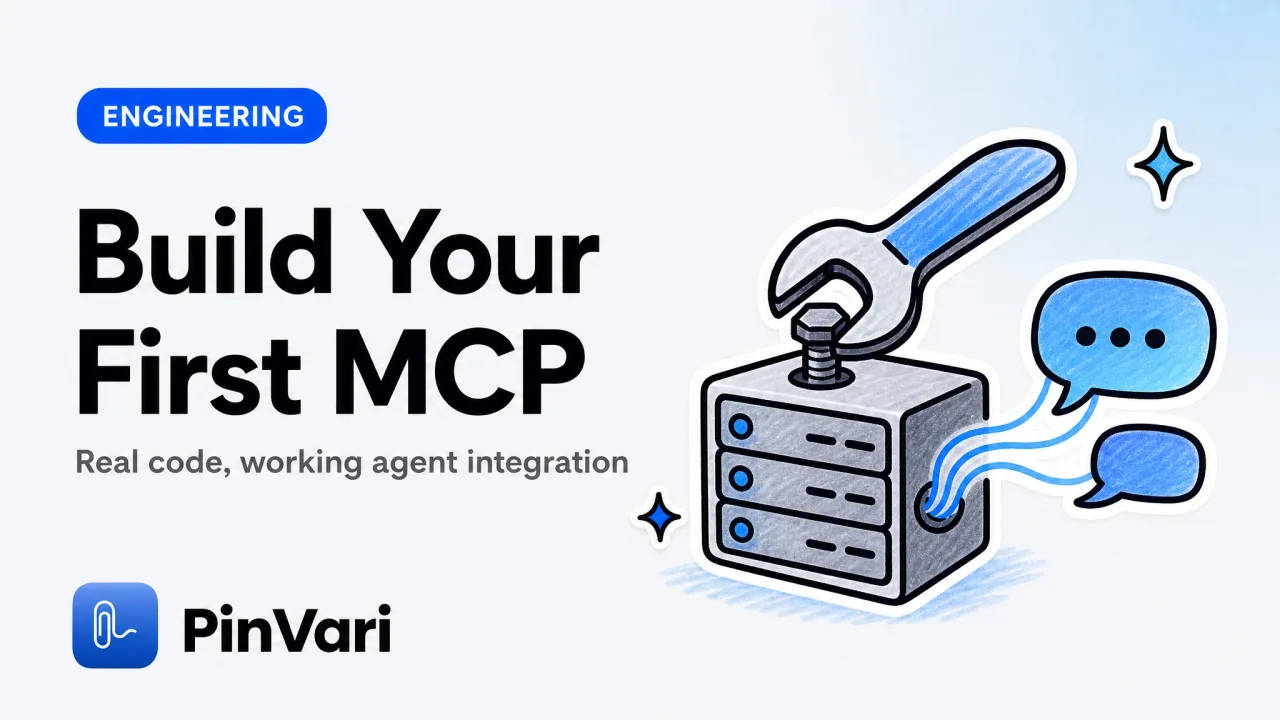
An MCP server is a local process that exposes tools, prompts, or data sources to your AI coding agent over a standard JSON-RPC transport. You build one when you need the agent to do something the base model can't — read your database, call a proprietary API, or capture the exact UI element under your pointer. Most developers start here because the official docs are abstract and lack a concrete macOS workflow.
Every tutorial lists the MCP SDK and shows a hello-world snippet, but skips the part where you test it locally, connect it to a real agent, and watch the tool appear in the agent's context window. This guide walks you through building an MCP server from scratch in Node.js, testing it with the Inspector CLI, and connecting it to Claude Code or Cursor on a Mac. By the end you'll have a working server that surfaces system information to your agent — and the pattern to build any capability you need.
What does an MCP server actually do on macOS?
An MCP server runs as a subprocess on your local machine — typically node server.js started by the agent itself when you open a project or run a command. The agent (Claude Code, Cursor, Codex, Zed) talks to it over stdio (standard in/out) or SSE (server-sent events on a localhost port). The server advertises tools, prompts, or resources. When the agent decides to use one, it sends a JSON-RPC request; the server executes and returns the result.
The server never talks to Anthropic or OpenAI directly. It lives on 127.0.0.1. The agent forwards the tool's output to the LLM as context. On-device, no API keys, no upload. That's the whole MCP loop.
A concrete macOS example: PinVari's MCP server (~/.pinvari/mcp/pinvari-mcp) exposes pinvari_next_instruction, which returns the resolved UI element path, spoken instruction, circled region, and cropped screenshot from the last ⌥⌘A capture. Claude Code calls that tool mid-task, gets the named element (AXButton "Submit" frame:(x, y, w, h)), and writes the Playwright locator without guessing pixel coordinates.
Other servers read Linear issues, query Postgres, or scrape Figma frames. You build an MCP server when you need the agent to act on local data or call a system API the base model can't reach.
How do I build an MCP server in Node.js?
Install the official SDK and create a minimal server skeleton. This example builds a tool that returns macOS system uptime — a real capability the agent can't get from the model alone.
Step 1: Initialize a Node.js project.
mkdir my-mcp-server
cd my-mcp-server
npm init -y
npm install @modelcontextprotocol/sdk
Step 2: Create server.js with the SDK scaffold.
#!/usr/bin/env node
import { Server } from "@modelcontextprotocol/sdk/server/index.js";
import { StdioServerTransport } from "@modelcontextprotocol/sdk/server/stdio.js";
import { CallToolRequestSchema, ListToolsRequestSchema } from "@modelcontextprotocol/sdk/types.js";
import { execSync } from "child_process";

const server = new Server(
  { name: "system-info-server", version: "1.0.0" },
  { capabilities: { tools: {} } }
);

server.setRequestHandler(ListToolsRequestSchema, async () => ({
  tools: [
    {
      name: "get_uptime",
      description: "Returns macOS system uptime in human-readable format",
      inputSchema: { type: "object", properties: {} }
    }
  ]
}));

server.setRequestHandler(CallToolRequestSchema, async (request) => {
  if (request.params.name === "get_uptime") {
    const uptime = execSync("uptime").toString().trim();
    return { content: [{ type: "text", text: uptime }] };
  }
  throw new Error(`Unknown tool: ${request.params.name}`);
});

async function main() {
  const transport = new StdioServerTransport();
  await server.connect(transport);
}

main().catch(console.error);
Make it executable: chmod +x server.js.
Step 3: Test it with the MCP Inspector CLI.
npx @modelcontextprotocol/inspector node server.jsThe Inspector opens a web UI on http://localhost:5173. Click Connect → List Tools → you see get_uptime. Click Call Tool → it runs uptime and returns the output. If it works in the Inspector, it works in the agent.
The Inspector is the fastest feedback loop. Test every new tool here before wiring it to the agent — you'll catch schema errors and runtime failures in seconds.
How do I connect my MCP server to Claude Code or Cursor?
Add the server to the agent's config with one command. The agent starts it automatically when you open a project.
For Claude Code:
claude mcp add --scope user my-system-info -- node "$HOME/my-mcp-server/server.js"Restart Claude Code. Open a project and ask: "What's the system uptime?" The agent calls get_uptime and shows the result.
For Cursor:
Edit ~/.cursor/mcp.json:
{
  "mcpServers": {
    "my-system-info": {
      "command": "node",
      "args": ["/Users/you/my-mcp-server/server.js"]
    }
  }
}
Restart Cursor. The tool appears in the agent's context automatically.
For PinVari: the app installs its connector at ~/.pinvari/mcp/pinvari-mcp and you connect with one click inside PinVari → Connect → Claude Code / Cursor / VS Code. The connector talks to the app on 127.0.0.1:3402. Learn more in the Claude Code MCP integration guide.
The agent must be running and the server must be reachable. If the agent logs MCP server exited, check stderr for Node.js errors — usually a missing import or a malformed JSON-RPC response.
What capabilities should I add to my MCP server?
The fastest wins are tools that read local state the agent can't see: database rows, environment variables, the focused window's accessibility tree, or the current Git branch. Start with one tool, test in the Inspector, then add the next.
Common patterns:
| Capability | Tool example | Use case |
|---|---|---|
| Read local file | read_config returns ~/.myapp/config.json | Agent reads API keys without you pasting them |
| Query database | get_user hits local Postgres | Agent writes migrations referencing real schema |
| Call proprietary API | linear_issues fetches your workspace | Agent drafts tickets based on current sprint |
| Capture UI element | pinvari_next_instruction returns named AX element | Agent writes exact Playwright locators without guessing |
| Read browser URL | get_active_url queries Chrome's AX tree | Agent scrapes the page you're viewing |
PinVari's server exposes two tools: pinvari_next_instruction (returns the resolved element path, spoken instruction, circled region, screenshot) and pinvari_mark_done (closes the mark). The agent calls the first mid-task when it needs to know what you circled, then calls the second when the fix is live. That two-tool loop closes the feedback cycle without you typing a locator.
For your server, pick the one thing the agent asks you for repeatedly — a file path, a database query, a screenshot — and make it a tool. The best MCP servers share that property: they automate the context you paste manually today.
How do I handle errors and edge cases in my server?
Return structured errors in the JSON-RPC response and log failures to stderr (the agent captures it). Never throw an unhandled exception — the server dies and the agent loses the tool mid-task.
Example error handler:
server.setRequestHandler(CallToolRequestSchema, async (request) => {
  try {
    if (request.params.name === "get_uptime") {
      const uptime = execSync("uptime").toString().trim();
      return { content: [{ type: "text", text: uptime }] };
    }
    return {
      content: [{ type: "text", text: `Unknown tool: ${request.params.name}` }],
      isError: true
    };
  } catch (err) {
    console.error("Tool execution failed:", err);
    return {
      content: [{ type: "text", text: `Error: ${err.message}` }],
      isError: true
    };
  }
});
PinVari's server returns a confidence score (0.0–1.0) with every element. Below 0.8, it sets isError: true and asks the user to re-mark instead of guessing. That pattern — confidence-aware responses — prevents the agent from acting on ambiguous data.
Test your server with malformed input. Call get_uptime with a random inputSchema object in the Inspector. If it crashes, add validation before the execSync call.
What's the fastest workflow to build and test a new tool?
Write the tool in server.js, test in the Inspector, add it to the agent config, ask the agent to use it. That loop takes ~2 minutes per tool.
Checklist:
- Add the tool to
ListToolsRequestSchema(name, description, inputSchema). - Add the handler to
CallToolRequestSchema(matchrequest.params.name). npx @modelcontextprotocol/inspector node server.js→ List Tools → Call Tool → verify output.claude mcp add(or edit Cursor'smcp.json).- Restart the agent, open a project, ask it to call the tool.
If step 3 fails, the schema is wrong or the handler threw. If step 5 fails, check the agent's MCP logs (~/.claude/logs/mcp.log for Claude Code). The error is almost always a missing Node module or a JSON parse failure.
For faster iteration, keep the Inspector open in one terminal and the agent in another. Edit server.js, restart the Inspector (Ctrl+C, up-arrow, Enter), test the tool, then restart the agent. The AI coding agents workflow guide covers this loop in detail.
How does PinVari's MCP server work under the hood?
The app installs a connector binary at ~/.pinvari/mcp/pinvari-mcp. That binary is a thin wrapper: it accepts JSON-RPC over stdio, forwards every request to the main PinVari.app process on 127.0.0.1:3402 via HTTP, and streams the response back to the agent. The app must be running — the connector has no logic of its own.
When you press ⌥⌘A, PinVari resolves the named accessibility element under the pointer (AXUIElementCopyElementAtPosition → role/title/value/frame/parent chain), transcribes your voice on-device (Apple Speech framework), and stores the instruction + element + screenshot in a local SQLite queue. The agent calls pinvari_next_instruction to dequeue the next mark. PinVari returns:
{
  "element_path": "AXButton 'Submit' in AXGroup 'form-container' in AXWindow 'MyApp'",
  "instruction": "change the submit button to say 'Send'",
  "confidence": 0.94,
  "provenance": "circled",
  "screenshot_base64": "iVBORw0KG...",
  "frame": { "x": 120, "y": 340, "width": 80, "height": 32 }
}
The agent uses that to write the exact Playwright locator (page.getByRole('button', { name: 'Submit' })) without pixel coordinates. Then it calls pinvari_mark_done to close the mark.
That architecture — named elements, not pixel guesses — is the differentiator. PinVari doesn't OCR the whole screen and hope. It reads the accessibility tree and returns the element's role and label, which map directly to semantic locators. Compare that to a generic screenshot tool: the agent gets pixels and infers intent. With PinVari, the agent gets AXButton "Submit" and writes the selector immediately. The moat is macOS exposing the UI element under any point via AXUIElementCopyElementAtPosition — a system API most screenshot tools ignore.
You can build a similar server for any platform with an accessibility API (Windows UIA, Linux AT-SPI). The SDK and transport are the same; only the element-resolution logic changes. See the accessibility tree guide for cross-platform details.
When should I use SSE transport instead of stdio?
Use stdio for local servers the agent starts as a subprocess. Use SSE when the server is long-running (a system daemon, a Docker container, or a service already running on a known port).
Stdio transport:
import { StdioServerTransport } from "@modelcontextprotocol/sdk/server/stdio.js";
const transport = new StdioServerTransport();
await server.connect(transport);
The agent launches node server.js and pipes stdin/stdout. The server exits when the agent closes the connection. This is the default for most MCP servers.
SSE transport:
import { SSEServerTransport } from "@modelcontextprotocol/sdk/server/sse.js";
import express from "express";

const app = express();
app.get("/sse", async (req, res) => {
  const transport = new SSEServerTransport("/message", res);
  await server.connect(transport);
});
app.listen(3000);
The agent connects to http://localhost:3000/sse and the server pushes events. Use this when the server manages persistent state (a database connection pool, a WebSocket to another service) that shouldn't restart every time the agent opens a project.
PinVari uses a hybrid: the connector uses stdio to talk to the agent, HTTP to talk to the app. That lets the app stay running (managing captures, the notch island, the Command Center) while the agent starts/stops the connector as needed.
For most developers, start with stdio. Add SSE only when you profile the startup time and see it's too slow.
FAQ
How do I debug an MCP server that won't connect to the agent?
Check the agent's MCP logs first. For Claude Code: tail -f ~/.claude/logs/mcp.log. For Cursor: the Developer Console (⌘⌥I) under the MCP tab. The error is usually ENOENT (wrong path in the config), MODULE_NOT_FOUND (missing npm install), or JSON parse error (malformed response schema). Run the server manually in a terminal — node server.js — and type a JSON-RPC request to see where it fails. The Inspector CLI is faster: npx @modelcontextprotocol/inspector node server.js isolates transport issues from logic bugs.
Can I build an MCP server in Python instead of Node.js?
Yes, the Model Context Protocol is language-agnostic. Use the Python SDK: pip install mcp and implement the same stdio transport. The agent doesn't care what language the subprocess speaks as long as it returns valid JSON-RPC. The Node.js SDK has better docs and more examples (as of Aug 2026), but the Python community is catching up. Check modelcontextprotocol/python-sdk on GitHub for the canonical starter.
How do I distribute my MCP server to other developers?
Publish it as an npm package or a standalone binary. For npm: npm publish and users install with npm install -g your-mcp-server, then add your-mcp-server to the agent config (no node prefix). For a binary: compile with pkg or bundle as a Go/Rust executable, distribute via Homebrew or a direct download. PinVari ships a Developer-ID-notarized DMG with the connector pre-installed at ~/.pinvari/mcp/pinvari-mcp — users connect with one click in the app. If you're building for a team, a private npm registry or a shared S3 bucket works fine.
What's the performance overhead of calling an MCP tool vs. the agent doing it natively?
The tool call adds one stdio round-trip (typically <10ms local) plus the tool's execution time. A database query or a shell exec is the real bottleneck, not the transport. PinVari's pinvari_next_instruction returns in ~50ms (the queue is local SQLite + a screenshot base64 encode). If your tool is slow, profile the handler — console.time around the logic block — before blaming MCP. The SDK's JSON-RPC layer is negligible.
How do I add authentication to an MCP server tool?
Read the credential from an environment variable or a local file and validate it in the handler. Never embed secrets in the server code. For example, a Linear MCP server reads LINEAR_API_KEY from process.env and returns an error if it's missing. The agent's config can set env vars: "env": { "LINEAR_API_KEY": "lin_xxx" } in the mcp.json block. For OAuth, store the token in a platform keychain (macOS Keychain, Windows Credential Manager) and read it in the handler. The server runs with your user's permissions, so it can access the same secrets you can.
Can an MCP server call another MCP server?
Not directly — MCP servers are stdio subprocesses, not networked services. If you need orchestration, build a meta-server that spawns both subprocesses and forwards requests. More common pattern: the agent calls two servers in sequence (tool A fetches data, tool B processes it). The AI agent tools guide covers composition strategies. PinVari's server is single-purpose (capture UI elements) and leaves orchestration to the agent — simpler and more debuggable.
---
You now have the pattern to build an MCP server from scratch, test it with the Inspector, and connect it to Claude Code or Cursor. Start with one tool that eliminates a manual step in your workflow — reading a config file, querying a local database, or capturing the UI element under your pointer. Test in the Inspector, add it to the agent config, and watch the tool appear in the agent's context window.
For the fastest point-and-speak integration — where you circle an on-screen element and the agent gets the named accessibility path, not a pixel guess — try PinVari. One-time $39 (launch pricing, first 500 licenses), brings your own agent, everything on-device. The MCP server connects with one click and the agent sees AXButton "Submit" instead of (x: 450, y: 320).
Hand your agent the exact element
PinVari resolves what you point at into a named, executable instruction — on-device, no keys, your own agent. One click inside PinVari connects Claude Code, Cursor, VS Code or Codex — or paste one CLI line from pinvari.com/connect.
PinVari → Connect → your agent (one click)Get PinVari — $39 →