Screen Capture Mac Shortcut: The Complete Keyboard Guide
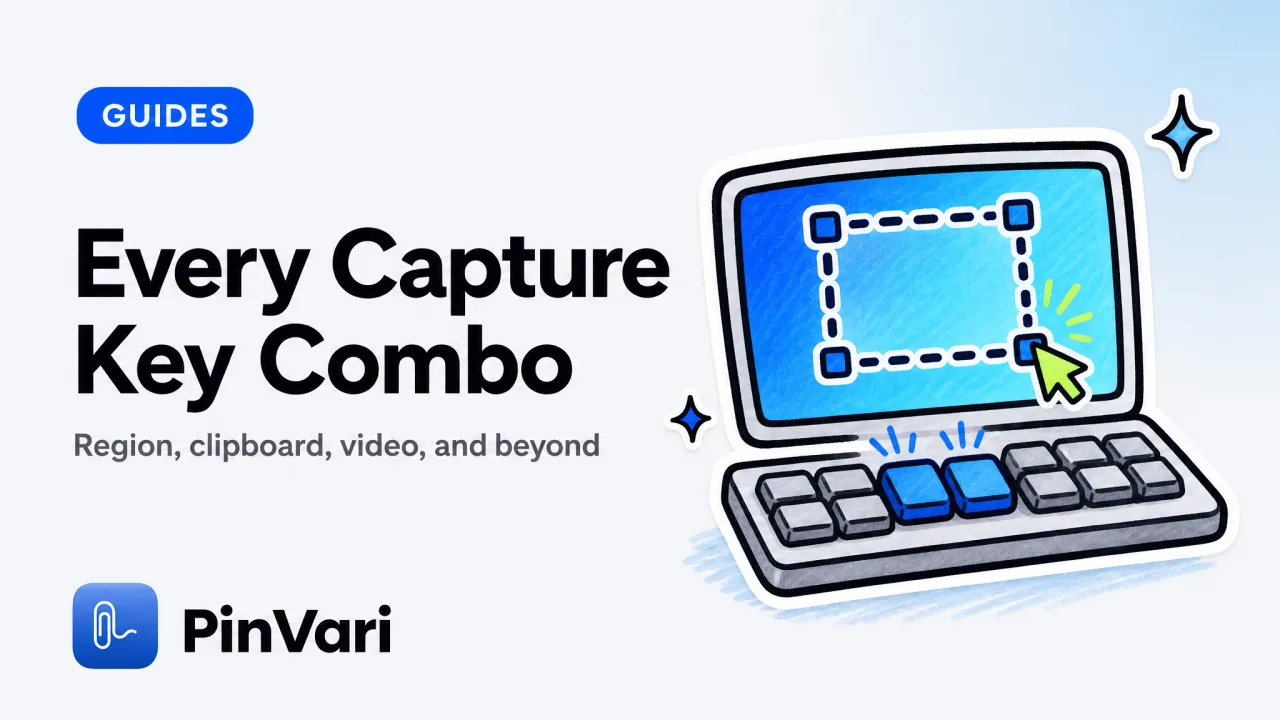
The core screen capture Mac shortcut is Command-Shift-4, which turns your cursor into a crosshair for selecting any region. Command-Shift-3 grabs the entire screen and Command-Shift-5 opens the full capture toolbar with video and options.
Every other capture behavior on macOS is a variation of those three, usually by adding Control, Space, or Option. Most guides stop at listing the keys.
The useful part is knowing which modifier does what, and when a built-in shortcut stops being enough. I have used these on macOS for years across Sonoma and later, on both Apple Silicon and Intel machines.
The shortcuts are excellent and free. The gap only appears when you need the capture to carry meaning, not just pixels.
What are the screen capture Mac shortcut keys?
macOS ships a complete set of capture shortcuts built into the system. They all start with Command-Shift and change behavior based on the number key and any modifier you hold.
The screen capture Mac shortcut you will use most is Command-Shift-4, because it lets you drag a selection around exactly the part of the screen you want. Press Space after invoking it and the crosshair becomes a camera that captures a single window with a clean drop shadow.
Command-Shift-5 is the one worth memorizing next. It opens a toolbar where you can capture the whole screen, a window, or a selection, and it adds screen recording plus a small options menu.
| Shortcut | What it captures |
|---|---|
| Command-Shift-3 | Entire screen to Desktop |
| Command-Shift-4 | Drag-selected region to Desktop |
| Command-Shift-4 then Space | A single window or menu |
| Command-Shift-5 | Toolbar: screen, window, region, video |
| Command-Shift-6 | Touch Bar (on models that have one) |
After you drag a selection with Command-Shift-4, tap Space to lock the selection size and reposition it, or hold Option to resize from the center.
On a MacBook, all of these work identically whether you are on the built-in keyboard or an external one. There is no separate screen capture Mac laptop shortcut.
How do you screen capture to the clipboard on Mac?
Add Control to any capture shortcut and the result goes to your clipboard instead of a file on the Desktop. This is the single most useful modifier, and most people never learn it.
For a screen capture Mac to clipboard, press Command-Control-Shift-4 to select a region and copy it. Then paste directly into Slack, a doc, or your AI chat with Command-V.
The screen capture Mac copy to clipboard behavior means no stray PNG files piling up on your Desktop after a busy afternoon. The same rule applies to the full screen.
Command-Control-Shift-3 copies the entire screen to the clipboard, ready to paste. Adding Control anywhere turns "save a file" into "copy it."
The Control modifier is the difference between a Desktop full of Screenshot files and a clean paste-and-go workflow. Command-Control-Shift-4 is the combo to burn into muscle memory.
There is also a small thumbnail that floats in the bottom-right corner after each capture. Click it to mark up, crop, or share the image before it saves.
Swipe it away to keep the default behavior. If you find that thumbnail slow, the options menu in Command-Shift-5 lets you turn it off.
What about screen capture with QuickTime and other built-in options?
For video, macOS gives you two built-in paths: the Command-Shift-5 toolbar and QuickTime Player. Both record the screen without any download, and both save a standard .mov file.
QuickTime Player is the older route and still useful when you want more control over the recording. Open QuickTime, choose File then New Screen Recording, and you get options for the microphone input and whether to show mouse clicks.
Screen capture with QuickTime on Mac covers the recording settings and export sizes. The Command-Shift-5 toolbar is faster for a quick clip.
Click "Record Entire Screen" or "Record Selected Portion," hit record, and stop from the menu bar. For most short demos this beats opening QuickTime.
Neither built-in video option captures a webcam overlay or trims heavily. For that you move to a dedicated app.
For a plain screen recording to attach to a bug report or a message, the built-in tools are enough.
Which screen capture app is best after the shortcuts?
The built-in shortcuts cover capture. What they do not cover is fast annotation, scrolling capture, pinned overlays, and cloud links.
That is where a dedicated best screen capture app for Mac earns its price. CleanShot X is the common upgrade.
It adds scrolling capture for long pages, quick annotation, a clipboard history of recent captures, and the ability to hide desktop icons before a shot. Alternatives to CleanShot X compares it against the other paid options for people who want a one-time purchase.
For pure screenshot quality and markup, the best screenshot tool for Mac breaks down which apps handle blur, redaction, and step numbering best.
Built-in shortcuts
Cost: Free.
Strength: Fast, always available.
Understands the screen: No. Pixels only.
QuickTime Player
Cost: Free.
Strength: Simple screen video.
Understands the screen: No. Pixels only.
CleanShot X
Cost: One-time.
Strength: Scrolling, annotation, cloud.
Understands the screen: No. Pixels only.
PinVari
Cost: One-time $39 launch.
Strength: Names the element you point at.
Understands the screen: Yes, via accessibility.
Every option above except the last one produces pixels. A screenshot of a button is still just an image of a button; nothing in the file tells another program which control it is.
For a Mac power user who already owns CleanShot X or Raycast and dislikes subscriptions, the built-in shortcuts plus one one-time app usually settle the capture question.
What if you want a capture that understands the screen?
There is a category above screenshots, and it exists because screenshots throw away meaning. A picture of your screen records how it looks, not what any element on it is.
For a lot of work that is fine. For handing an AI coding agent a specific control to fix, it is the wrong data.
macOS already knows what every on-screen element is. The Accessibility API returns the role, label, frame, and parent chain of the control under any point through AXUIElementCopyElementAtPosition.
What the macOS Accessibility API is used for explains how the system exposes this. PinVari uses that layer.
You hold ⌥⌘A, circle or point at any control, and speak. It screenshots the region, transcribes your words on-device, and resolves the named accessibility element you pointed at with a confidence score.
Then it hands your own AI coding agent a resolved instruction over a local MCP server. When a surface has no accessibility label, such as a canvas or some Electron views, it falls back to on-device Vision OCR.
The practical difference is what lands in your agent. A normal capture gives it image.png.
This gives it AXButton "Sign In" at (1240, 86) plus the spoken instruction and a cropped screenshot. Whether Claude Code can see your screen explains why that distinction decides whether the agent fixes the right thing.
It is a one-time purchase, on-device, with no API keys and nothing uploaded by default. You bring your own agent.
If your capture workflow ends with pasting into an AI, PinVari is the layer that makes the paste unnecessary.
Built-in shortcuts answer "how do I grab this?" A capture that reads the accessibility element answers "what is this, exactly?"
For everything else, the three Command-Shift combos and one good one-time app remain the fastest, cheapest, most private way to capture a Mac screen. Learn the Control modifier for clipboard, learn Space for windows, and you have covered most of daily capture.
FAQ
What is the main screen capture shortcut on a Mac?
The main screen capture Mac shortcut is Command-Shift-4, which lets you drag a crosshair to select any region. Command-Shift-3 grabs the whole screen, and Command-Shift-5 opens the capture toolbar with window, region, and video options.
How do I screen capture on Mac and copy to clipboard?
Hold Control along with the capture shortcut. Command-Control-Shift-4 selects a region and copies it to the clipboard, and Command-Control-Shift-3 copies the entire screen.
How do I record my screen on a Mac?
Use Command-Shift-5 and click "Record Entire Screen" or "Record Selected Portion," then stop from the menu bar. QuickTime Player also records screen video through File then New Screen Recording.
Where do Mac screenshots get saved?
By default they save to the Desktop as PNG files named by date and time. You can change the location in the Command-Shift-5 toolbar under Options, choosing Documents, Clipboard, or a custom folder.
What is the best screen capture app for Mac?
For plain screenshots and annotation, CleanShot X is the popular one-time-purchase upgrade, adding scrolling capture and markup. For a capture that also tells your AI agent which element you pointed at, PinVari resolves the named accessibility element.
Do I need an app if the built-in shortcuts are free?
For most capture tasks, no; the built-in Command-Shift shortcuts are complete and free. You add an app when you need scrolling capture, faster annotation, or a capture that carries the meaning of the element.
Hand your agent the exact element
PinVari resolves what you point at into a named, executable instruction — on-device, no keys, your own agent. One click inside PinVari connects Claude Code, Cursor, VS Code or Codex — or paste one CLI line from pinvari.com/connect.
PinVari → Connect → your agent (one click)Get PinVari — $39 →