Screen Capture Mac QuickTime: Tips & Shortcuts
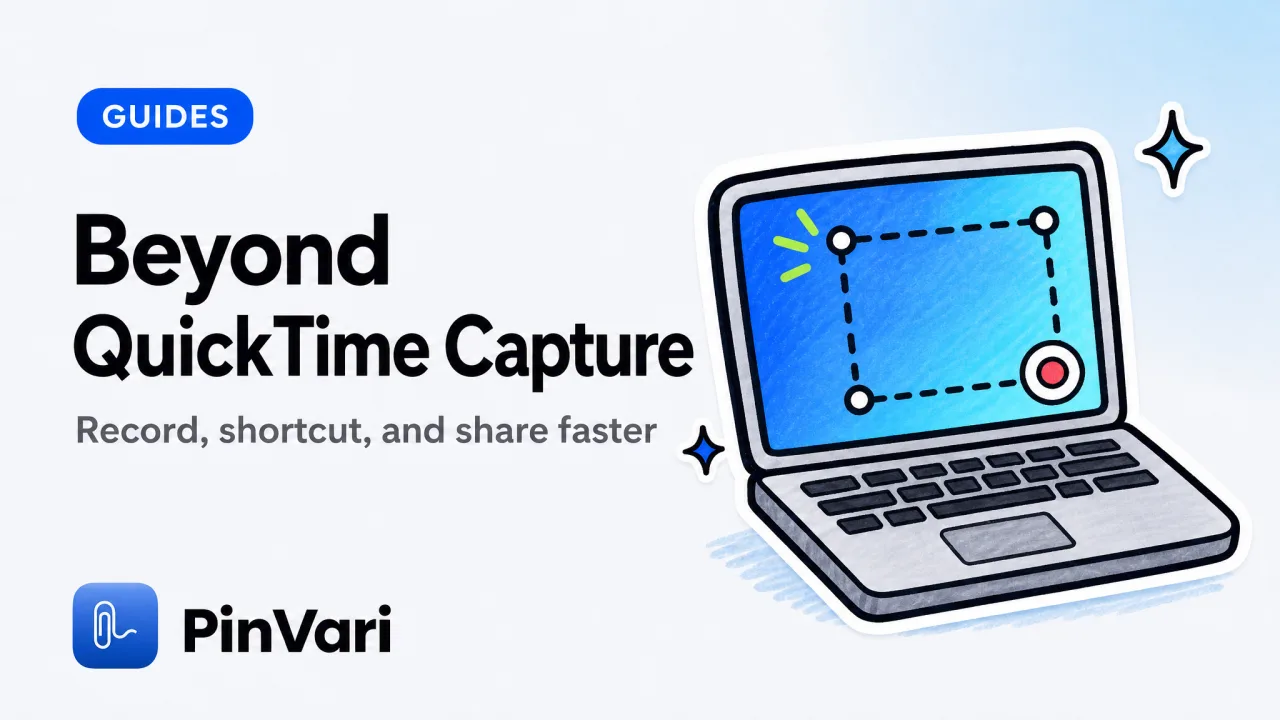
Screen capture Mac QuickTime is done through File → New Screen Recording in QuickTime Player, which records the full screen or a selected region and exports a .mov video file. It is free, built in, and reliable.
It captures video only, offers no annotation, and hides most of its options behind the newer Cmd-Shift-5 toolbar. Most tutorials treat the screen capture Mac QuickTime route as the default, when for everyday captures the built-in shortcut toolbar is faster.
How does screen capture Mac QuickTime work?
The QuickTime path is short once you know it. Open QuickTime Player from Applications, then choose File → New Screen Recording from the menu bar.
A small controller appears. Click the record button, then either click once to capture the whole screen or drag to select a region.
When you are done, click the stop icon in the menu bar and QuickTime opens the finished recording, which you save as a .mov. That is the entire screen capture Mac QuickTime workflow for video.
For a still image QuickTime is the wrong tool. macOS handles stills through keyboard shortcuts instead.
Two options inside that little controller are worth knowing. The dropdown arrow next to the record button lets you pick which microphone to record and whether to show mouse clicks as a dark circle.
If you hold Option while clicking record, QuickTime skips the click-to-start step and begins immediately. Neither is discoverable, which is part of why the Cmd-Shift-5 toolbar has taken over.
QuickTime records video only. If you want a screenshot, do not open QuickTime at all. Use Cmd-Shift-4 for a region or Cmd-Shift-5 for the toolbar.
What are QuickTime's screen capture limits?
QuickTime is dependable, but a Mac power user hits its ceiling fast. Knowing the limits up front saves you a wasted recording.
It exports .mov only, so you often re-encode to MP4 or GIF afterward. It has no annotation, no cursor highlighting, and no built-in trimming beyond the crudest cut.
It cannot send a capture straight to the clipboard, and it will not schedule a delayed start. For system audio you need extra setup, since QuickTime records the mic but not internal audio on its own.
These are not bugs. QuickTime was built as a player that happens to record.
File size is the other quiet problem. QuickTime records at your display's full resolution with light compression, so a few minutes of a Retina screen can produce a file large enough to be awkward to email.
You end up re-encoding anyway, which erases the "it is already built in" convenience. A tool that lets you choose resolution and format at capture time avoids that round-trip.
If you record a long session in QuickTime expecting to trim it precisely later, you will be disappointed. Its trimming is coarse. Plan your take, or use a tool built for editing after capture.
QuickTime vs shortcuts vs dedicated apps
QuickTime is rarely the best of the three built-in-or-cheap options for a given task. Compare them as cards.
QuickTime Player
Captures: Video (.mov).
Annotation: No.
To clipboard: No.
Best for: Simple full-screen recordings.
Cmd-Shift-5 toolbar
Captures: Stills plus video.
Annotation: Basic Markup.
To clipboard: Yes (add Control).
Best for: Everyday captures.
Cmd-Shift-4 shortcut
Captures: Region still.
Annotation: Via Markup after.
To clipboard: Yes (add Control).
Best for: Fast one-off screenshots.
Dedicated capture app
Captures: Stills, video, and GIF.
Annotation: Full.
To clipboard: Yes.
Best for: Sharing, tutorials, teams.
For stills, the keyboard shortcuts win outright. The full set is worth memorizing from the screen capture Mac shortcut guide.
For polished recordings and instant annotation, a dedicated app is worth it. That is why so many Mac users look at a CleanShot X alternative once QuickTime stops keeping up.
Add the Control key to any capture shortcut to send the result straight to your clipboard instead of a file. That single habit removes the "capture, find the file, drag it in" round-trip QuickTime forces on you.
What are the common screen capture mistakes on Mac?
Most Mac capture frustration comes from a handful of avoidable habits. Each has a clean fix.
The first mistake is reaching for QuickTime for screenshots. It only does video, so you burn time opening an app when Cmd-Shift-4 would have been instant.
The second is losing captures on the desktop. By default grabs pile up as dated files. Change the save location in the Cmd-Shift-5 toolbar's Options menu, or send captures to the clipboard.
The third is forgetting audio setup. A screen capture Mac QuickTime recording grabs the mic by default but not system sound, so people record a whole demo with silent app audio.
The fourth is over-recording. A 90-second video is a poor bug report when a single annotated still would say more.
If you are capturing to explain a UI problem, a marked-up screenshot is usually clearer and lighter than a clip. For teams that live in these tools, the Mac productivity apps roundup covers faster capture setups.
The fifth is not knowing the modifier keys at all. Space toggles between region and window capture while the crosshair is up.
Escape cancels a capture in progress. The thumbnail that appears in the corner can be dragged straight into an app instead of saved.
Learning those three behaviors removes most of the friction people blame on macOS capture. None of them require opening QuickTime.
When is a screen recording not enough for an AI agent?
The moment you are capturing to explain a bug to an AI coding agent, video and stills both hit a wall. They show pixels, but they cannot say which element on screen you actually meant.
You record a QuickTime clip of a misbehaving button, hand it to your agent, and it still has to guess which control you were pointing at. Sending full frames is also expensive, since screenshots burn agent tokens fast.
PinVari is the layer above capture. You hold ⌥⌘A, circle the exact control, and speak.
It resolves the named accessibility element under your ink, attaches a confidence score, and hands your own agent a resolved, executable instruction over a local MCP server. It runs on-device with no uploads and ships as a one-time $39 launch license, not a subscription.
The difference shows up in the agent's response. Hand it a QuickTime clip and it has to watch pixels move and infer what you meant.
Hand it AXButton "Publish" at a known frame, plus your spoken instruction, and it acts on the first try. Where QuickTime gives your agent a picture to interpret, PinVari gives it the actual element to act on.
FAQ
How do I record my screen on Mac with QuickTime?
Open QuickTime Player, choose File → New Screen Recording, click record, then click once for the full screen or drag to select a region. Click the stop button in the menu bar when finished, and QuickTime opens the .mov for you to save.
Does QuickTime screen capture record audio?
It records from your microphone by default but not internal system audio on its own. To capture what your apps are playing you need an audio-routing setup, which is why many people switch to a dedicated capture app for demos with sound.
What is the fastest screen capture shortcut on Mac?
Cmd-Shift-4 gives you a crosshair to grab any region instantly, and Cmd-Shift-5 opens the full toolbar with stills, video, timers, and options. Both are faster than opening QuickTime, and adding Control sends the capture to your clipboard.
How do I save a Mac screen capture to the clipboard?
Add the Control key to any capture shortcut, so Cmd-Shift-Control-4 copies a region straight to the clipboard instead of writing a file. QuickTime cannot do this.
Can I convert a QuickTime screen recording to MP4?
Yes. QuickTime exports .mov, so you re-encode to MP4 with a converter or an editing app afterward. If you export to MP4 or GIF often, a dedicated capture app that outputs those formats directly saves the extra step.
Is QuickTime the best screen capture app for Mac?
Only for the simplest recordings. It is free and reliable but has no annotation, no clipboard output, and video-only export. For stills the built-in shortcuts are better.
Hand your agent the exact element
PinVari resolves what you point at into a named, executable instruction — on-device, no keys, your own agent. One click inside PinVari connects Claude Code, Cursor, VS Code or Codex — or paste one CLI line from pinvari.com/connect.
PinVari → Connect → your agent (one click)Get PinVari — $39 →