Screen Capture Mac Laptop: Methods and Apps
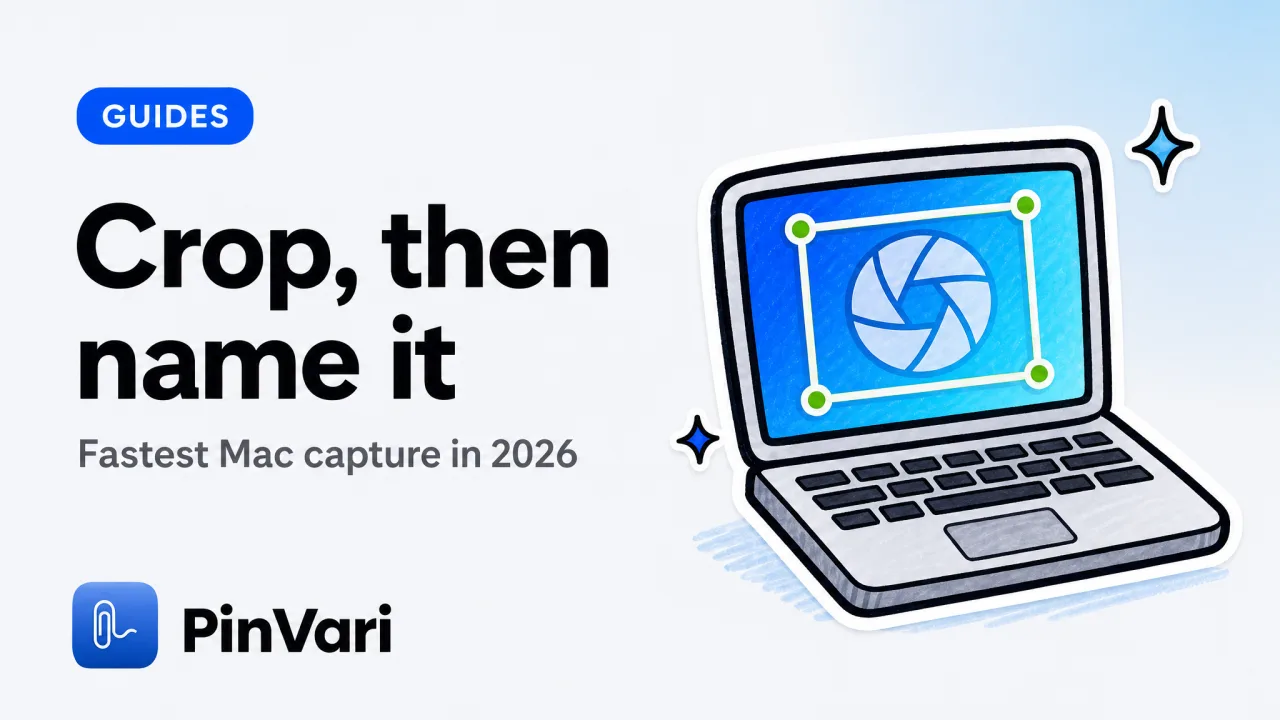
Screen capture Mac laptop means Shift-Command-4 for a crop, Shift-Command-5 for the toolbar, QuickTime for a recording, and a point-and-speak overlay when the crop has to name a control. The fastest workflow in 2026 is the one that produces a named element, not the one with the most arrows.
Most guides stop at the keyboard cheat sheet. That is useful. It is not a workflow if the next step is paste into Slack.
I already wrote screen capture Mac shortcut and screen capture Mac QuickTime. This post is the laptop path from a key to an agent.
What is the fastest screen capture Mac laptop workflow in 2026?
For a file you will drop in Slack: Shift-Command-4, drag, done. Clipboard if you add Control.
For a recording of a flow: Shift-Command-5 or QuickTime. Keep it under a minute.
For a bug an agent should fix: Option-Command-A, circle, speak. The crop is evidence. The AX name is the identity.
Crop plus name beats a pretty desktop. That is the 2026 default I want on a laptop.
Full-desktop captures waste space and hide the control. They also leak the URL bar. Crop first. Always.
Built-in shortcuts versus apps
Shift-Command-4
Type: OS crop
Capture: pixels
Resolution: none
Shift-Command-5
Type: OS toolbar
Capture: still or video
Resolution: none
QuickTime
Type: OS recorder
Capture: window or screen
Resolution: none. See the QuickTime post.
CleanShot X
Type: paid Mac app
Capture: stills, scroll, annotate
Resolution: none. Superb pixels. CleanShot X alternative if you want other options.
Point-and-speak
Type: native overlay
Capture: crop plus AX element plus transcript
Resolution: role, label, frame, confidence
The best screenshot tool for Mac write-up is the pixel-app bake-off. This guide is when to leave the pixel app.
How do you capture for an agent, not a slide deck?
Slide decks want arrows and numbers. Agents want identity.
Do not annotate a PNG with a red box and hope. Hold Option-Command-A, circle the control, speak the change. The agent gets the name, not just the ink.
If you only have the OS crop, at least crop tight and type the visible label into the ticket. That is the minimum.
On a laptop with a notch, the Command Center and the notch island keep captures by app. You do not have to fish through Desktop/Screenshot 2026-08-23.
Desktop folders are not a workflow. Named captures are.
When do you need more than a PNG?
When the page scrolls. When the bug is motion. When AX is empty and you need OCR. When you have three controls to mention in one breath.
Option-Command-P pauses across a scroll. Scrolled marks keep their frame. Multi-display marks remember the monitor. One capture can span screens.
Do not record a ten-minute QuickTime of a bug that is a single button. Nobody watches it. A crop plus a name gets watched.
The $39 one-time capture license is on the pricing block. CleanShot stays a subscription-or-license pixel tool. You can own both.
Confidence below 0.8 asks. On Electron, AXManualAccessibility and a short retry. OCR on canvas.
If the laptop is closed on a clamshell to an external display, test the hotkey once. Capture follows the display the mark was drawn on.
FAQ
What is the fastest screen capture method on a Mac laptop?
Shift-Command-4 for a quick crop. Point-and-speak when an agent or a ticket needs the control name.
How do I screenshot on a Mac laptop without a dedicated screen key?
The function row is not required. Shift-Command-3 is the full screen. Shift-Command-4 is the crop. Those work on every Mac keyboard I use.
Can I screen capture a Mac laptop for Claude Code?
Yes. A PNG works poorly. A named element plus a crop works. Connect a local MCP server on 127.0.0.1:3402 or paste the packet.
Is CleanShot required for screen capture on a Mac laptop?
No. The OS is enough for pixels. CleanShot is nicer for scroll shots and annotate. It still does not resolve AXButton.
How do I record the screen on a Mac laptop?
Shift-Command-5 or QuickTime. Keep the clip short. File a still of the failing frame with the ticket.
Why does my capture include the notch or the wrong display?
You captured the whole screen or the wrong monitor. Crop. If you use a spatial tool, each mark remembers its display.
I travel with a 14-inch laptop and one portable monitor. The workflow does not change. Crop. Name. File. That is the complete guide I actually follow in 2026. A laptop-specific checklist I keep:
- Charge enough that the machine will not sleep mid-capture.
- Set the input display. Marks remember the monitor. If the lid is closed, the portable monitor is the one that matters.
- Disable Do Not Disturb only if you need the notch island. You can still capture without staring at it.
- Put Desktop screenshots in a weekly trash habit. OS captures pile up. Named captures live in the Command Center.
The laptop is a moving display. Test the hotkey after you plug in a monitor.
If you present from the laptop, do not capture the presenter notes window by accident. Crop. If you use Stage Manager, the visible window is the one you think you circled. Check the crop before you file.
For agencies, the fastest 2026 path is still: client staging on the laptop, circle the control, speak, file to Linear. Marker.io is fine for website annotation when the client lives in a browser. It will not see a native build.
Jam.dev will grab console logs in Chromium. Use it there. Switch to a Mac overlay when the bug is in the Electron shell or the IDE. Annotation is a separate job from capture. CleanShot and Preview are good at arrows. Arrows help humans. They do not help an agent as much as AXButton Pay now.
If you must annotate, annotate after you save the named packet. Do not let the only copy be a marked-up PNG with the URL bar still visible.
Annotate a copy. Keep a clean crop with the ticket.
Token cost is the other reason to crop. A full laptop desktop at retina resolution is a lot of pixels to send a model. I will not invent a token figure. You can see the context bar climb. Crop until it does not.
Screenshots waste Claude Code tokens is the pairing post if you have been pasting desktops. That slug is live. Use it.
Multi-display: I often keep Slack on the portable monitor and Safari on the laptop. A mark on Safari should not grab Slack. If your tool cannot remember the display, you are back to OS crops and hope. Keyboard recap you can tape to the laptop:
- Shift-Command-3: full screen
- Shift-Command-4: crop
- Shift-Command-4 then space: window
- Shift-Command-5: toolbar
- Option-Command-A: mark and speak
- Option-Command-V: voice-only
- Option-Command-P: pause across scroll
That is the complete method list I use. Everything else is an app around those verbs.
If a teammate is on Windows, this guide does not help their laptop. Say that in the wiki. Do not pretend a Mac overlay is a company-wide standard when half the company is on ThinkPads.
The fastest workflow in 2026 is the one you will actually hit on a train tray table. For me that is Option-Command-A. For a designer who never talks to an agent, Shift-Command-4 is enough. Both are screen capture on a Mac laptop. Only one names the control. One more laptop case: screenshots of Keynote while you present. The OS window capture (Shift-Command-4, then space) is cleaner than a crop that includes the menu bar. For a product bug in the slides, you still want the element in the running app, not the slide photo of the app.
If you capture a video call, you may capture other people faces. Crop. Or do not capture the call. File the bug from the product window after.
Those two cases are why a complete guide is longer than a cheat sheet. The keys are short. The judgment is the work. That is screen capture on a Mac laptop in 2026. If you remember one method from this screen capture Mac laptop guide, remember the crop. If you remember two, remember the name. Everything else is a key you can look up. I have used this screen capture Mac laptop path on a 13-inch and a 16-inch. The keys do not change. The crop still matters more on the small panel because the full desktop is even noisier. Name the control. File it. Then close the lid.
Hand your agent the exact element
PinVari resolves what you point at into a named, executable instruction — on-device, no keys, your own agent. One click inside PinVari connects Claude Code, Cursor, VS Code or Codex — or paste one CLI line from pinvari.com/connect.
PinVari → Connect → your agent (one click)Get PinVari — $39 →